$12.01 $10.48 each
Available on Order
Please note Whilst all care has been taken to provide you with a good indication of colour, you should always sight product samples before use, due to natural variations in Colours & Sizes. Products may vary from image provided.
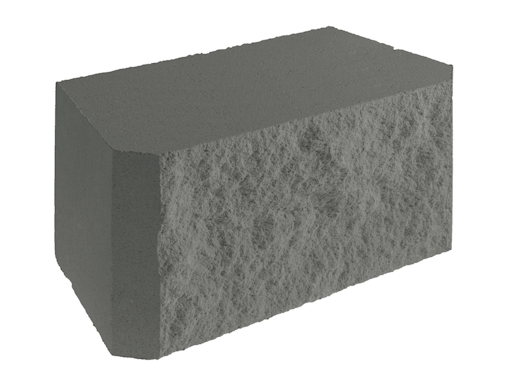
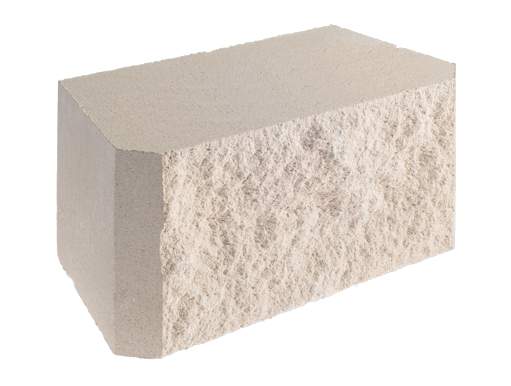
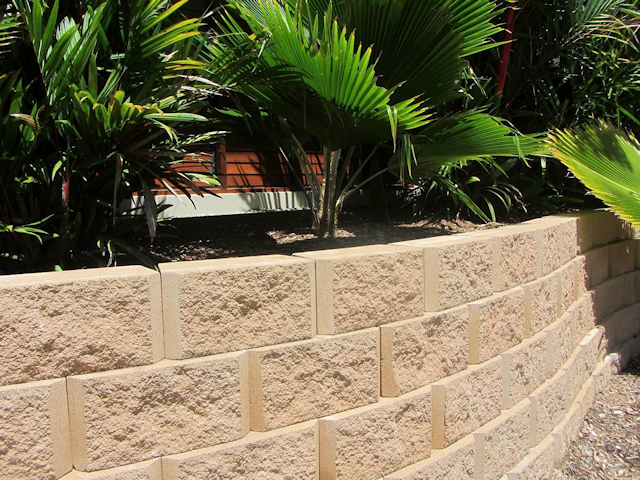
Accentuate your outdoor area with a selection from the four vibrant colours of Moreton blocks.
With one enticing blended colour and three contemporary monotone colours,
Moreton Retaining Wall Blocks will complement any landscape with a unique and timeless appeal.
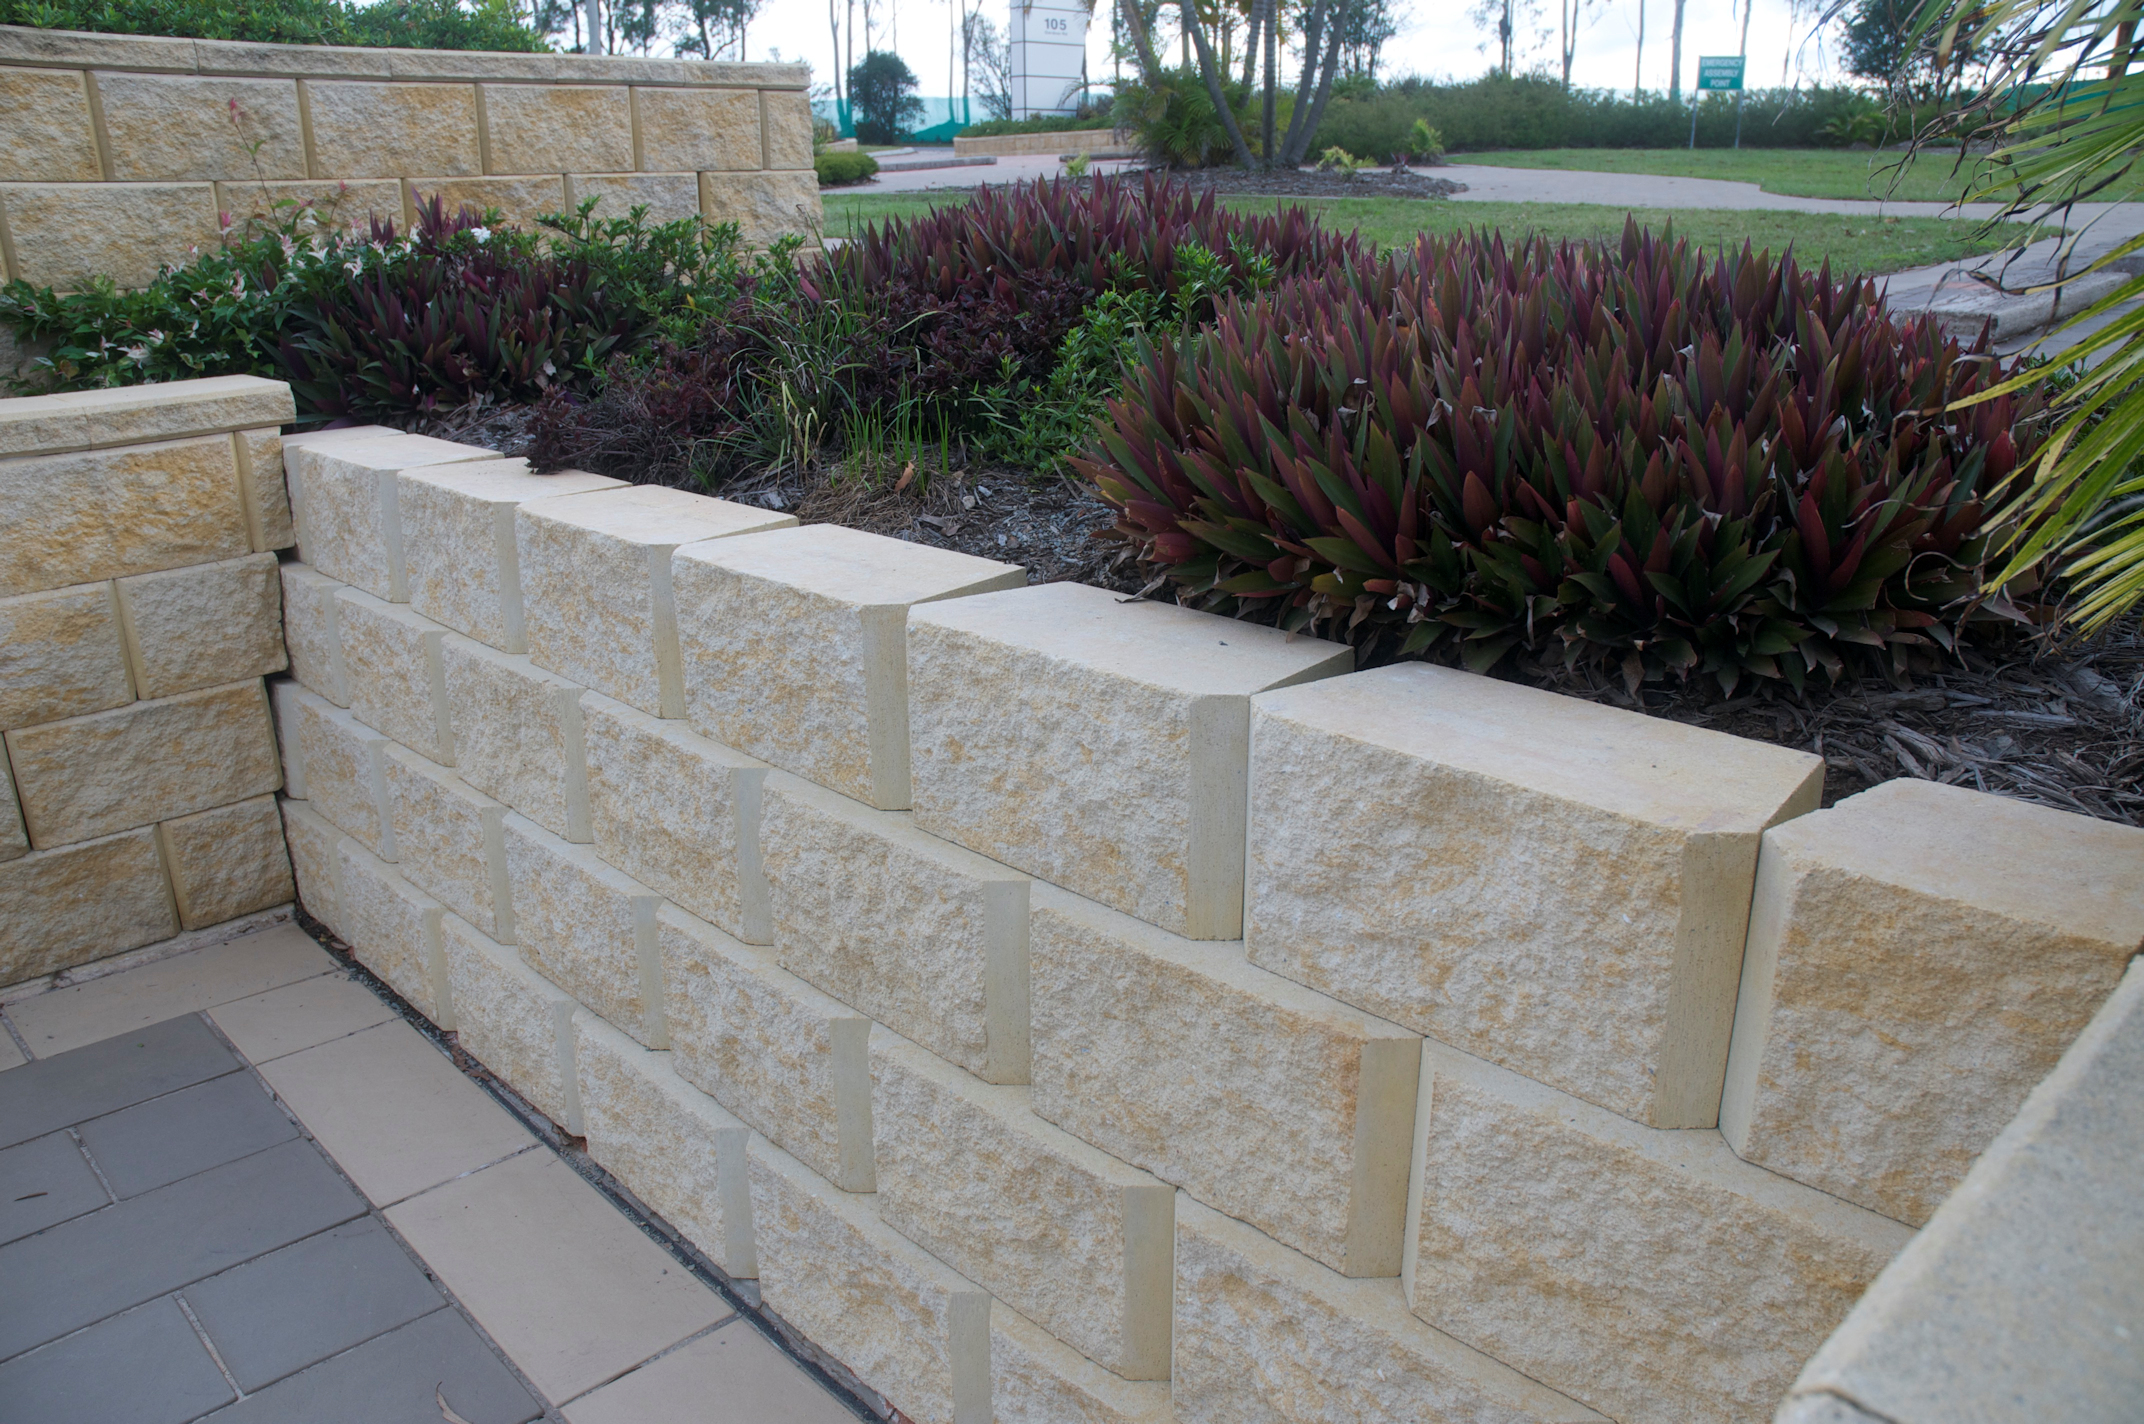
High quality and robust in nature, Moreton Retaining Wall Blocks are easy to install and require minimal maintenance.
Moreton Retaining Wall Blocks offer the perfect solution for outdoor living areas bringing the beautiful shoreline
tones of Moreton Island straight to your doorstep.
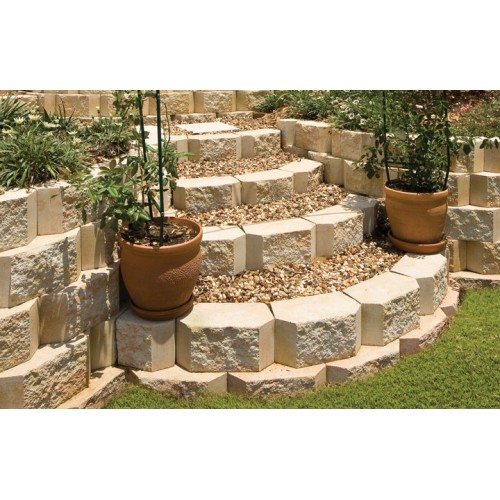
Applications :
Suits a wall required to go to to 1.2 metres high unreinforced.
Straight Walls
Curved Walls
Steps
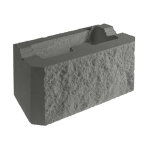
| Weight | 22.00 kg |
|---|---|
| Dimensions | 390 × 200 × 200 mm |
| Free Delivery | 4 Tonne and Over (Conditions Apply) |
| Price per lm | |
| Qty per lm | |
| Qty per pallet | |
| Application | Splitface, setback,high retaining wall, garden bed, straight walls, curved walls |
* Moreton Retaining Wall Block Price List
* Austral Product Brochure Guide
* Moreton Retaining Wall Installation Guide
HOW TO LAY – MORETON RETAINING WALLS
The GB Moreton retaining wall blocks are an ideal choice for retaining walls in gardens, other residential applications and commercial projects. The interlocking and dry stacked nature of the Moreton blocks, makes them easy to install for the “Do It Yourself” landscaper, while their sheer and connection strength provides confidence on larger jobs. No matter what the project, the result is always an attractive and low maintenance retaining wall. The flexibility of the system provides tremendous scope, from edging to terraces, straight walls to curves.
Note: For commercial projects, terraced walls, fences above walls and other specialised applications, engineering and/or council guidelines may need to be followed. Please consult with regulating council for local design requirements prior to the commencement of any retaining wall. Councils may request walls over 0.5m in height and / or where a surcharge exists (e.g. driveway, house, fence or other structure) be designed and certified by a suitably qualified consulting engineer.
Your Checklist
String line
Shovel
Pegs or stakes
Mitre saw (to cuts blocks if required)
Tape measure
Spirit level
Broom
10-20mm Crushed stone (back fill)
Walling units
Wheel barrow
Gloves & eye protection
Crushed rock (for base)
Compaction Tool
Agriculture Drain Pipe
Step 1: Permits
Check with your local council to ensure all local Building Codes are complied with.
Step 2: Foundation
The foundation material shall be compacted by several passes of a mechanical plate vibrator. Where there are significant variations of foundation material or compaction, soft spots, or where there is ponding of ground water, the material shall be removed, replaced and compacted in layers not exceeding 150mm. Trenches shall be dewatered and cleaned prior to construction, such that no softened or loosened material remains.
Step 3: Bearing Pad
The facing shall be built on a bearing pad, not less than 150mm thick & 600mm wide, consisting of one of the following options:
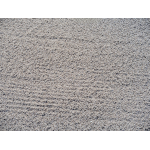
– Compacted crushed rock, well-graded and of low plasticity (without clay content), compacted by a plate vibrator; – Cement-stabilized crushed rock, with an additional 5% by mass of cement thoroughly mixed, moistened and compacted by a plate vibrator; or – Lean-mix concrete with a compressive strength of not less than 15 MPa.
Step 4: First Course
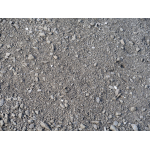
Spread 25mm of metal dust with an additional 5% by mass of cement over the compacted base. The first course is now bedded into the metal dust. The use of a level and string line is recommended to ensure the first course is laid correctly. Ensure each block is also well filled with free-draining material (e.g. crushed rock aggregate / blue metal).
Step 5: Drainage and Back Fill
Place 100mm diameter PVC agricultural pipe with sock behind the wall, with a 1 in 100 fall. Backfill behind the courses of blocks to a width of approx. 200mm – 300mm using 10-20mm free draining material (e.g. crushed rock aggregate / blue metal). Ensure each block is also well filled with free-draining material.
Step 6: Laying Additional Courses
Lay the next course and subsequent courses to a string line following the same procedure, as outlined in step 4, cleaning the top of the blocks, filling the block cores and backfilling behind the blocks to a maximum of one block high, at a time (as per step 5).
Step 7: Capping Units
When a Moreton capping block is laid as the final course no adhesive fixing is necessary.
$108.90 per m3
$173.90 per m3
$11.78 $10.25 each

