$0.89 each
Available
Please note Whilst all care has been taken to provide you with a good indication of colour, you should always sight product samples before use, due to natural variations in Colours & Sizes. Products may vary from image provided.
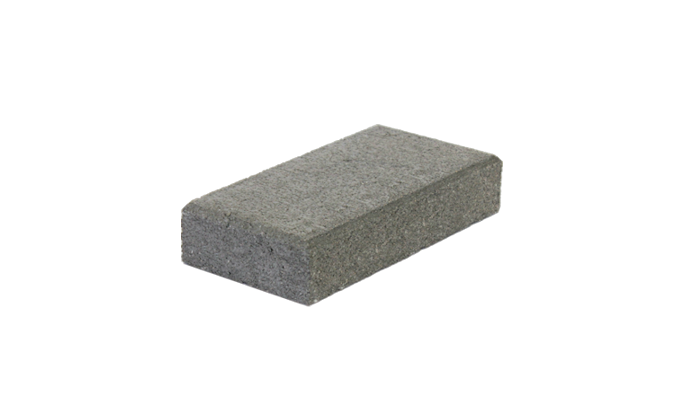
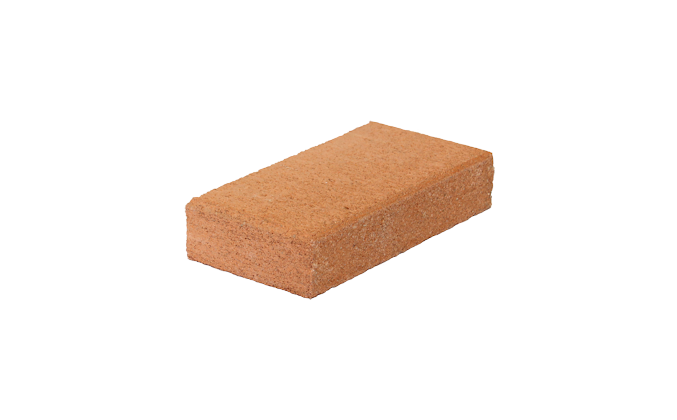
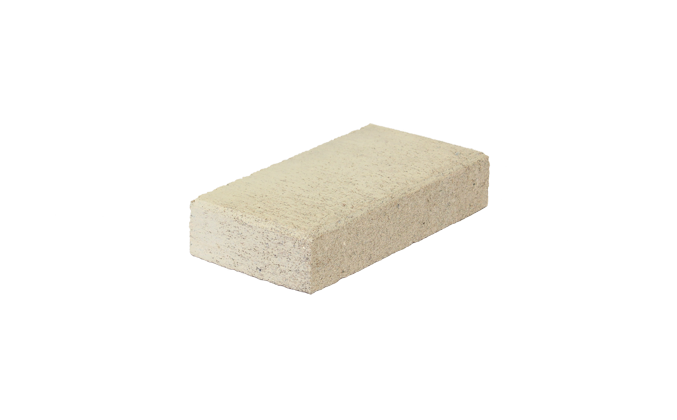
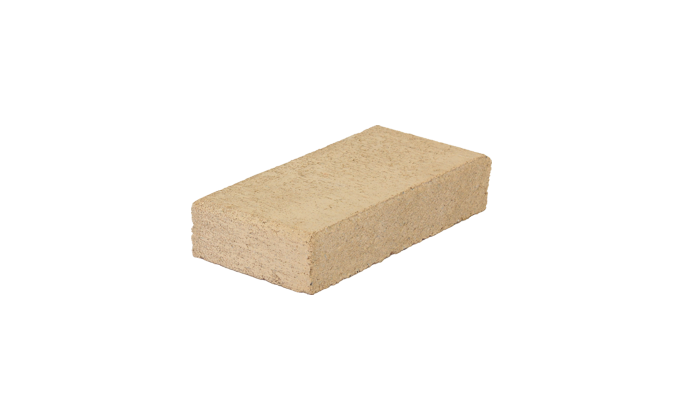
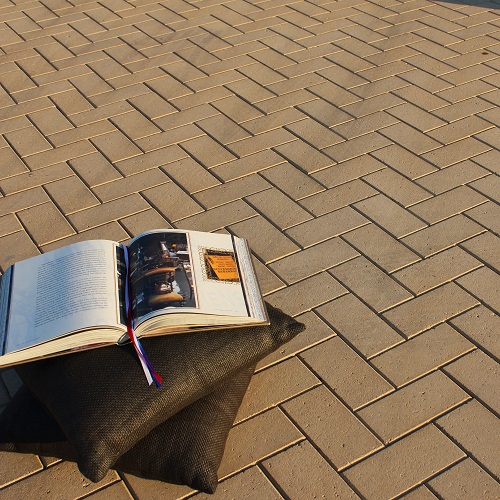
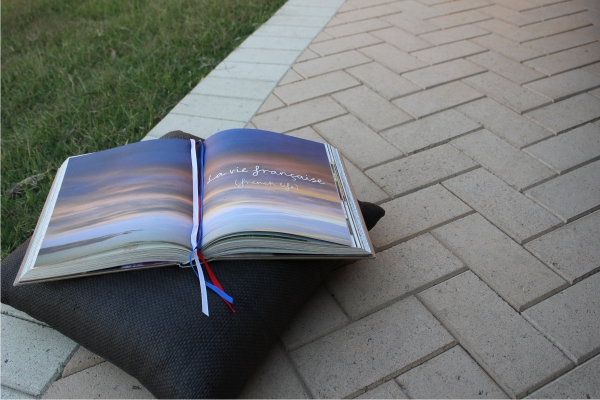
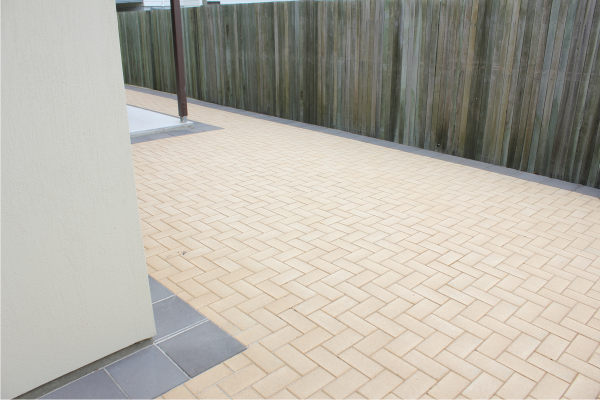
The LeMode 40mm Pavers Range brings affordability, quality and style that is suitable for Court Yards, entertaining areas, pathways, patios and pool surrounds.
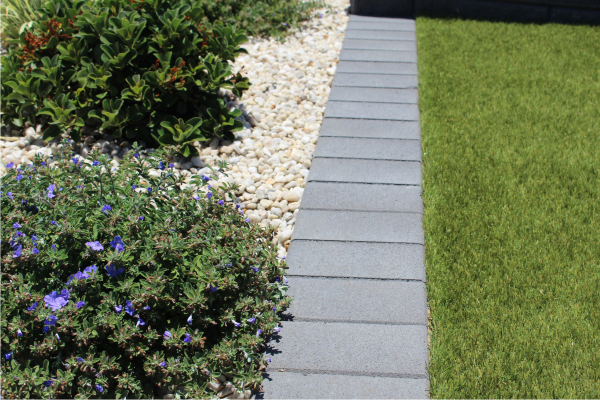
The LeMode Pavers range features beveled top edges that create a smart and neat look when laid, they also come in a range of colours and dimensions suitable for all types of applications.
| Weight | 1.70 kg |
|---|---|
| Dimensions | 200 × 100 × 40 mm |
| Free Delivery | 2 full pallets and over (Conditions Apply) |
| Supplier | |
| Price per m2 | $44.50 |
| Qty per m2 | |
| Qty per pallet | |
| Application | Patios, Courtyards, Steppers, Pool Surrounds, Entertaining Areas, Pathways |
STEP 1 PREPARE THE SITE
Prepare an area larger than the paved area required. Clear area of all vegetation, bark and soft soils. Check that finished height is not going to be higher than a nearby door opening.
STEP 2 LAY A FOUNDATION
Lay certified road base and compact with a plate compactor. If the road base if very dry add a little water. If thicker than 1mm compact in layers (55-75mm for a walkway, 150-200mm for a drive way), if laying on clay or fine sand use geo-fabric first.
STEP 3 BEDDING SAND
The most common bedding type sand used is washed medium or course sand. A minimum 30mm
layer is recommended. Level and compact this bedding sand layer.
STEP 4 SCREEDING BEDDING SAND
Using a screed, level an area to start from. For larger areas, break them up into smaller areas that are easier to manage. Lay a screed rail on your prepared area and using it as a guild screed at 90° allowing for a slight fall so the water will run away from your house toward the
lawn or garden. Lay the screed rails where you have just prepared. Place the screed on the rails and using a sawing motion pull the screed towards you. For larger areas just repeat the process.
STEP 5 START PAVING
Set up a string line to suit the pattern you are going to lay and start laying along the longest straight edge of area. Leave a 2-4mm gap between the pavers to allow for gap sand.
STEP 6 EDGING
Unless you paving is getting laid up against a house or slab, an edge restraint must up put in. See diagram
example for two options.
Edge Restraint example 1
Using the left over sand, mix with cement at a 4:1 ratio.

Edge Restraint example 2
Create a cement beam approx. 100mm in from the edge of the paver. Sprinkle the beam with neat cement and lay the paver on the beam. This will lock the paver to the beam giving you a high quality edge ideal for the garden or grass to grow up to.

STEP 7 SWEEP IN THE SAND
Always use kiln dried sharp gap sand. Sweep the gap sand over the dry paving, ensuring that all the little gaps are filled.
STEP 8 PACK IT IN
Pavers with a thickness of 50mm or greater need to be compacted with a plate compactor (whacker plate). Always remember to use a rubber mat or carpet under the place compactor to prevent damage to the pavers. For pavers with a thickness of 40mm the surface can be hand compacted with thick piece of timber and a rubber mallet.
