$1.91 each
Available
Please note Whilst all care has been taken to provide you with a good indication of colour, you should always sight product samples before use, due to natural variations in Colours & Sizes. Products may vary from image provided.
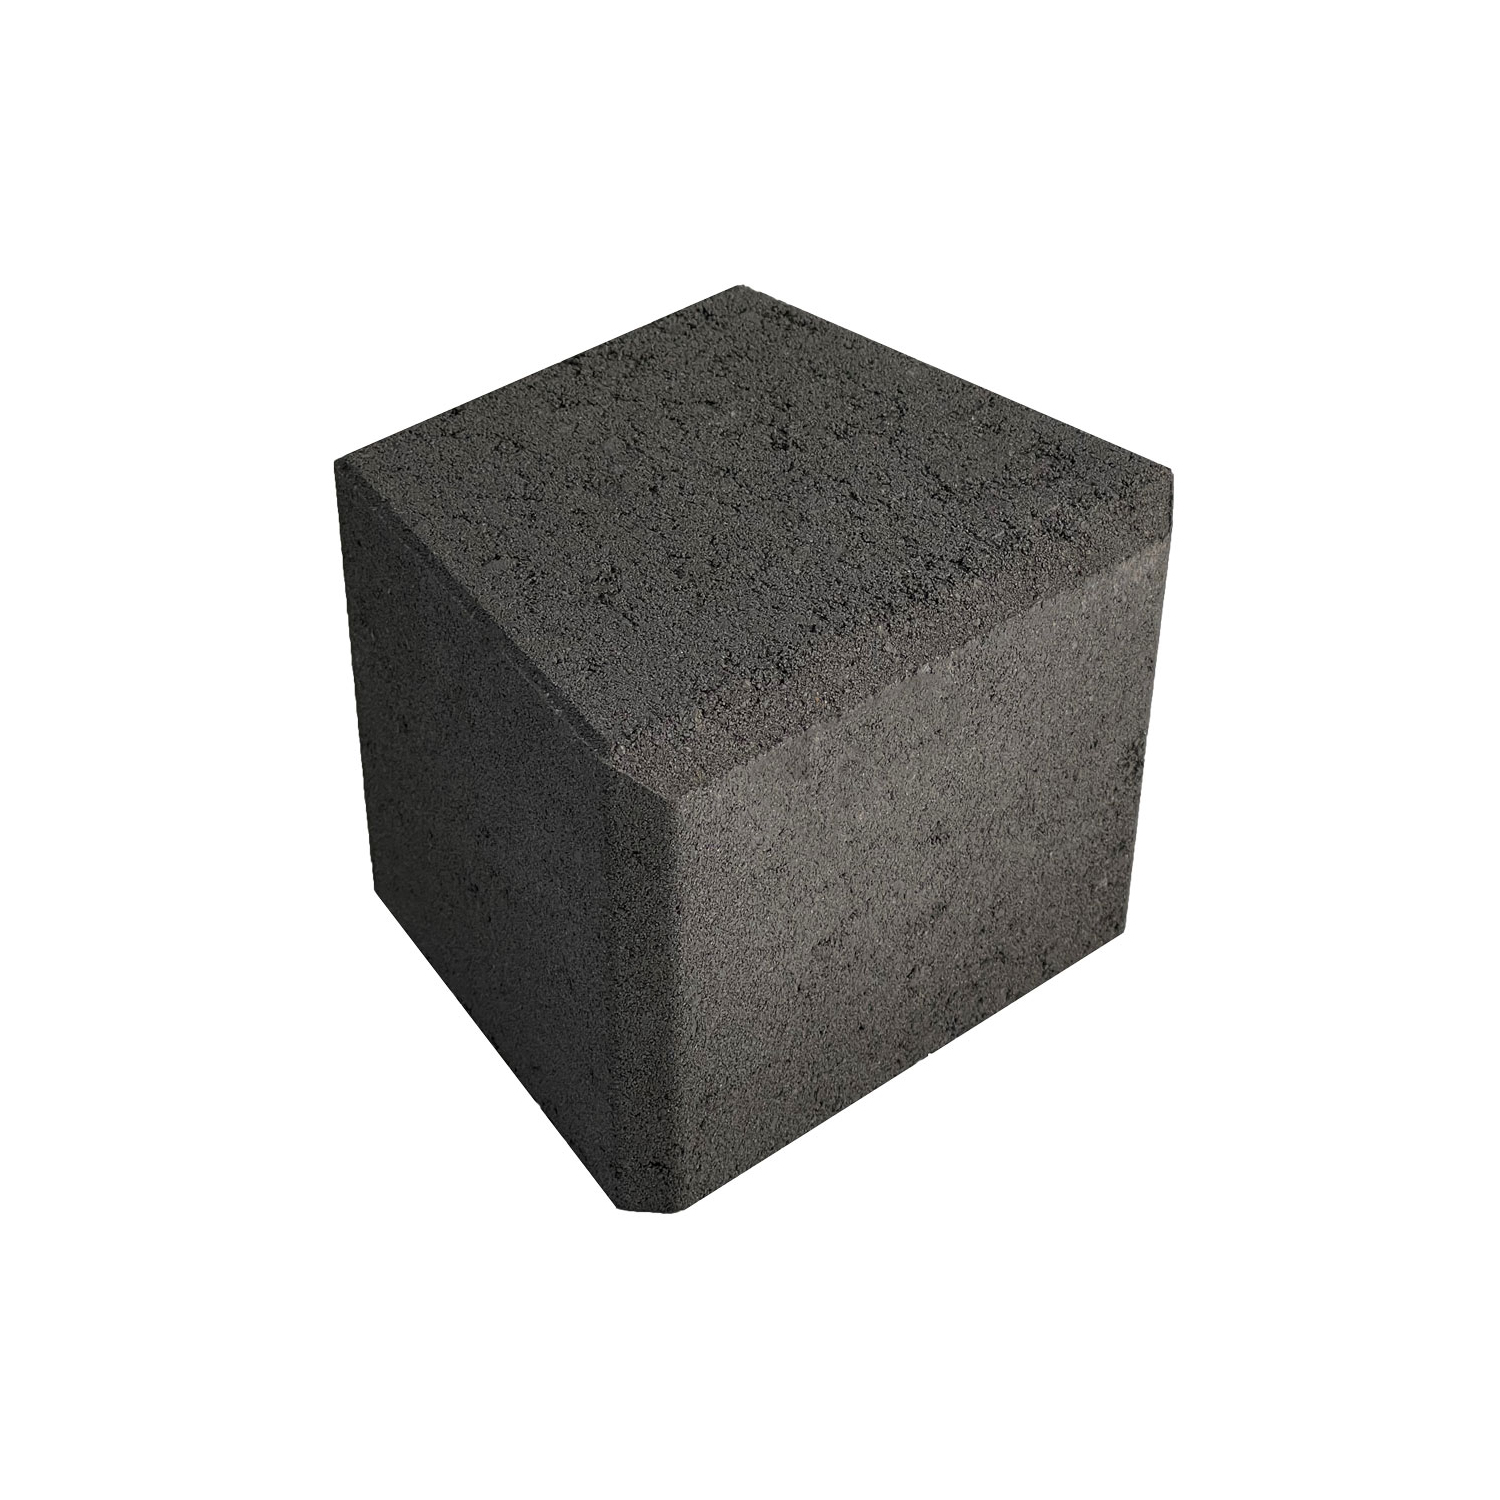
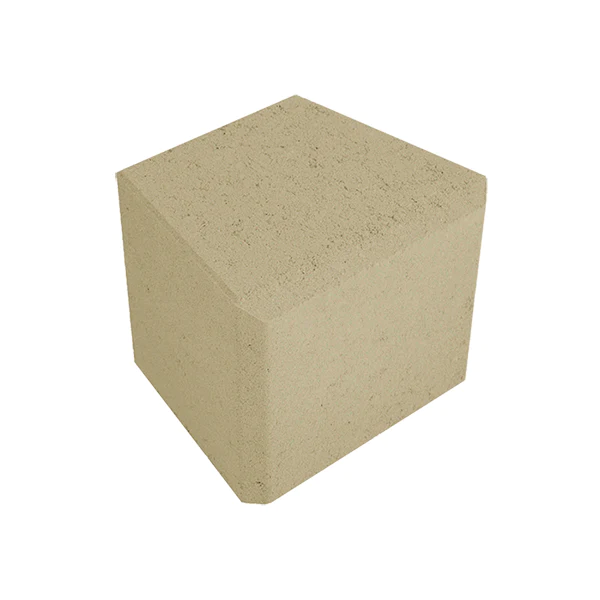
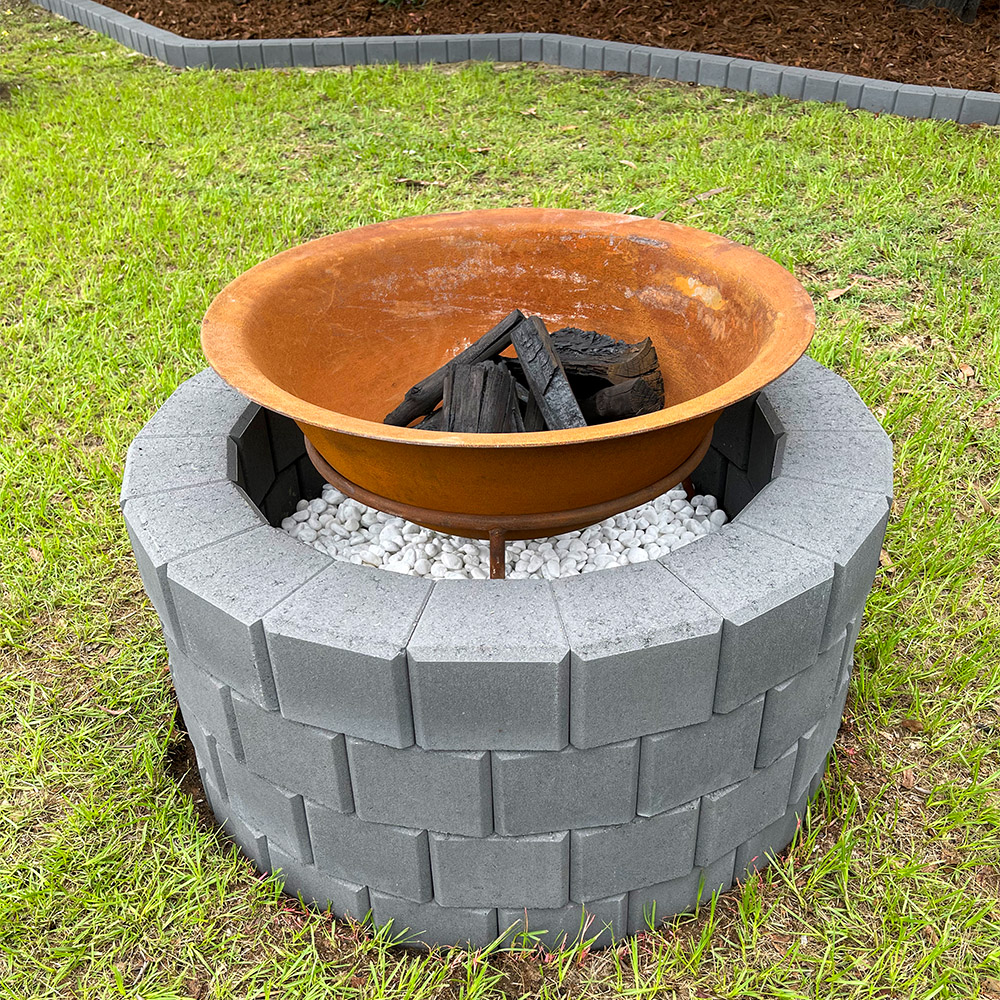
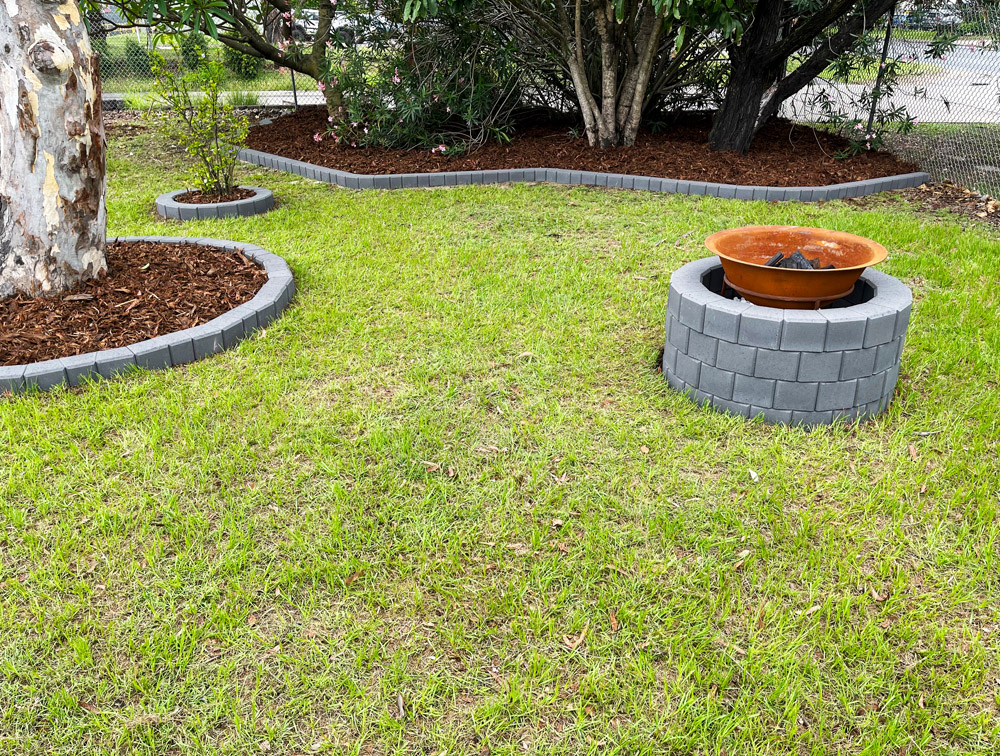
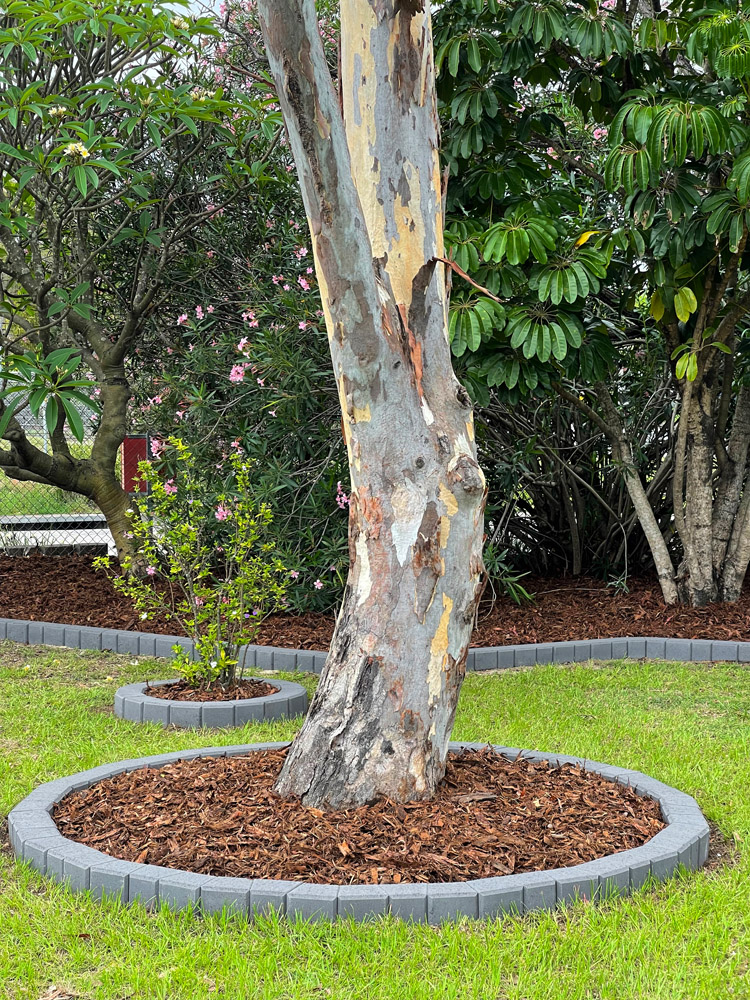
The smooth faced WedgeBLOK garden edging block is friendly to whipper snipper cords, beautifully finished with crisp modern chamfers and flexible enough to handle any style of edging. Lay all these styles with little or no gapping: straight edging, sweeping curves, tight curves, zig zags, big tree circles, little tree circles. Big enough to keep the weeds out and the mulch in, and small enough to fit in one hand so they’re super easy to lay. And yes, they’re also ideal for making fire pits.
| Weight | 5.00 kg |
|---|---|
| Dimensions | 160 × 140 × 125 mm |
| Free Delivery | 3 full pallets and over (Conditions Apply) |
| Price per lm | |
| Max Height | |
| Qty per pallet | |
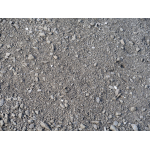
| Application | Garden bed, garden edging, low retainingwall, splitface, curved walls, straight walls |
National basic guide to wall building
Mark out the ground where your wall will be located (either by marking with stakes and a string line or by marking a line on the ground with spray paint). Excavate trench then compact roadbase into trench to form a levelling pad.
Place blocks side by side on the levelling pad using a string line along the back of the units for alignment. Level each unit side to side and front to back using your spirit level. Spend time making sure the first course of units is level, otherwise all ensuing courses and ultimately the entire wall will not be level.
Install an agricultural drain 150mm diameter behind your first course and surround with gravel (12-20mm sized gravel, e.g. blue metal). Shovel and compact your backfill (existing site soil) behind the drainage material. (Backfill consisting of heavy clays or organic soils is not recommended due to water holding properties).
Sweep the top of the previous course clean. Place the next course of units in a running bond pattern (i.e. with the vertical joints from the first course units halfway across the second course units). Pull each unit forward until it locks with the nib on the unit below. Place the drainage material behind the second course of units. Stack units, placing drainage material and compact backfill for each block height layer until your wall is complete.