$58.00 each
Available
Please note Whilst all care has been taken to provide you with a good indication of colour, you should always sight product samples before use, due to natural variations in Colours & Sizes. Products may vary from image provided.
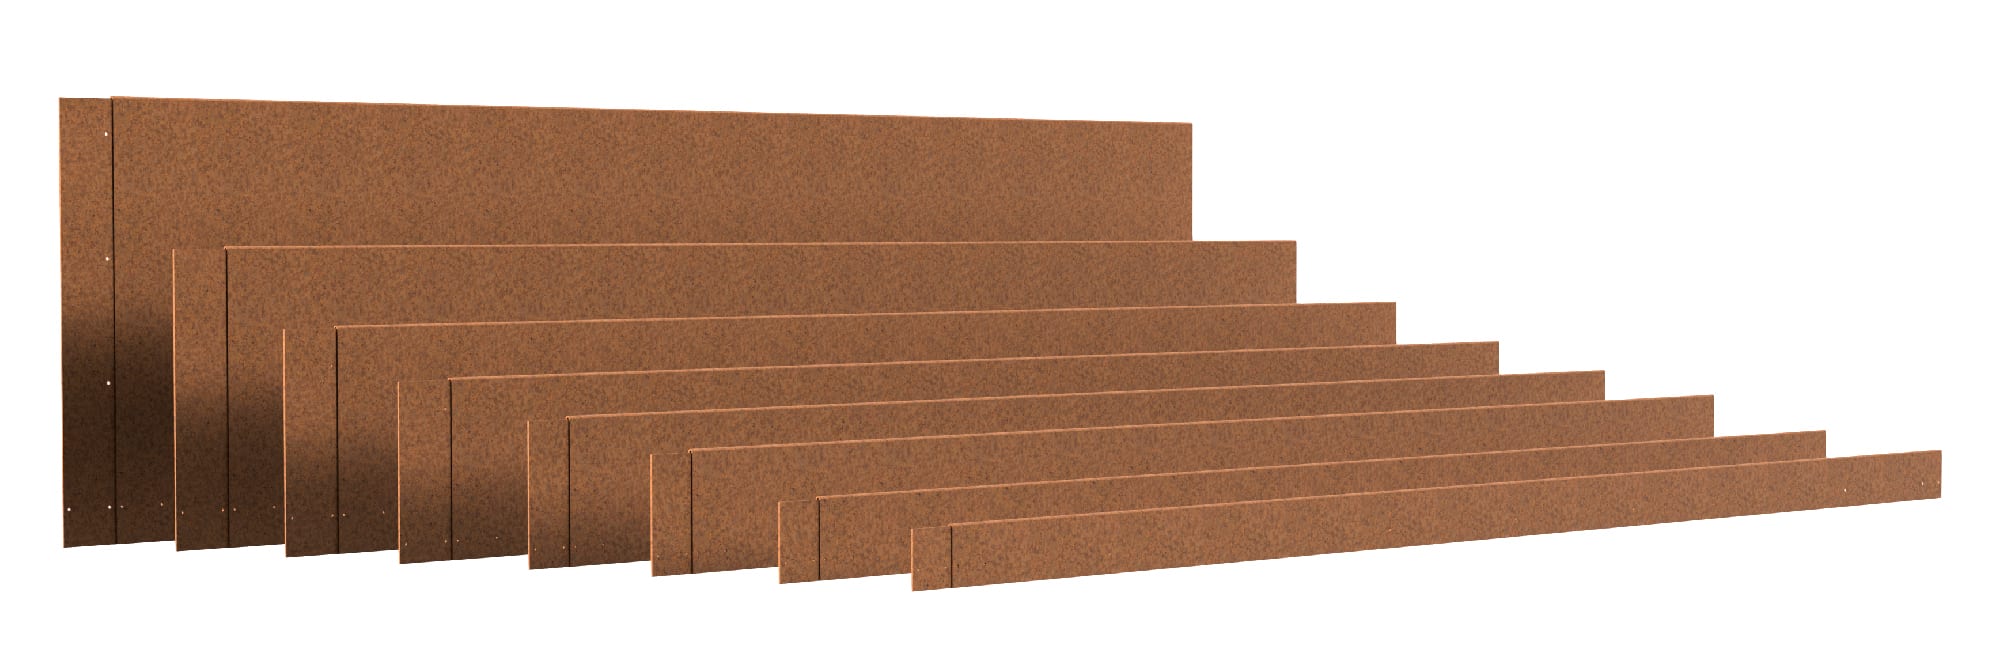
Shapescaper Garden Edging – Redcor Steel (2400mm Lengths)
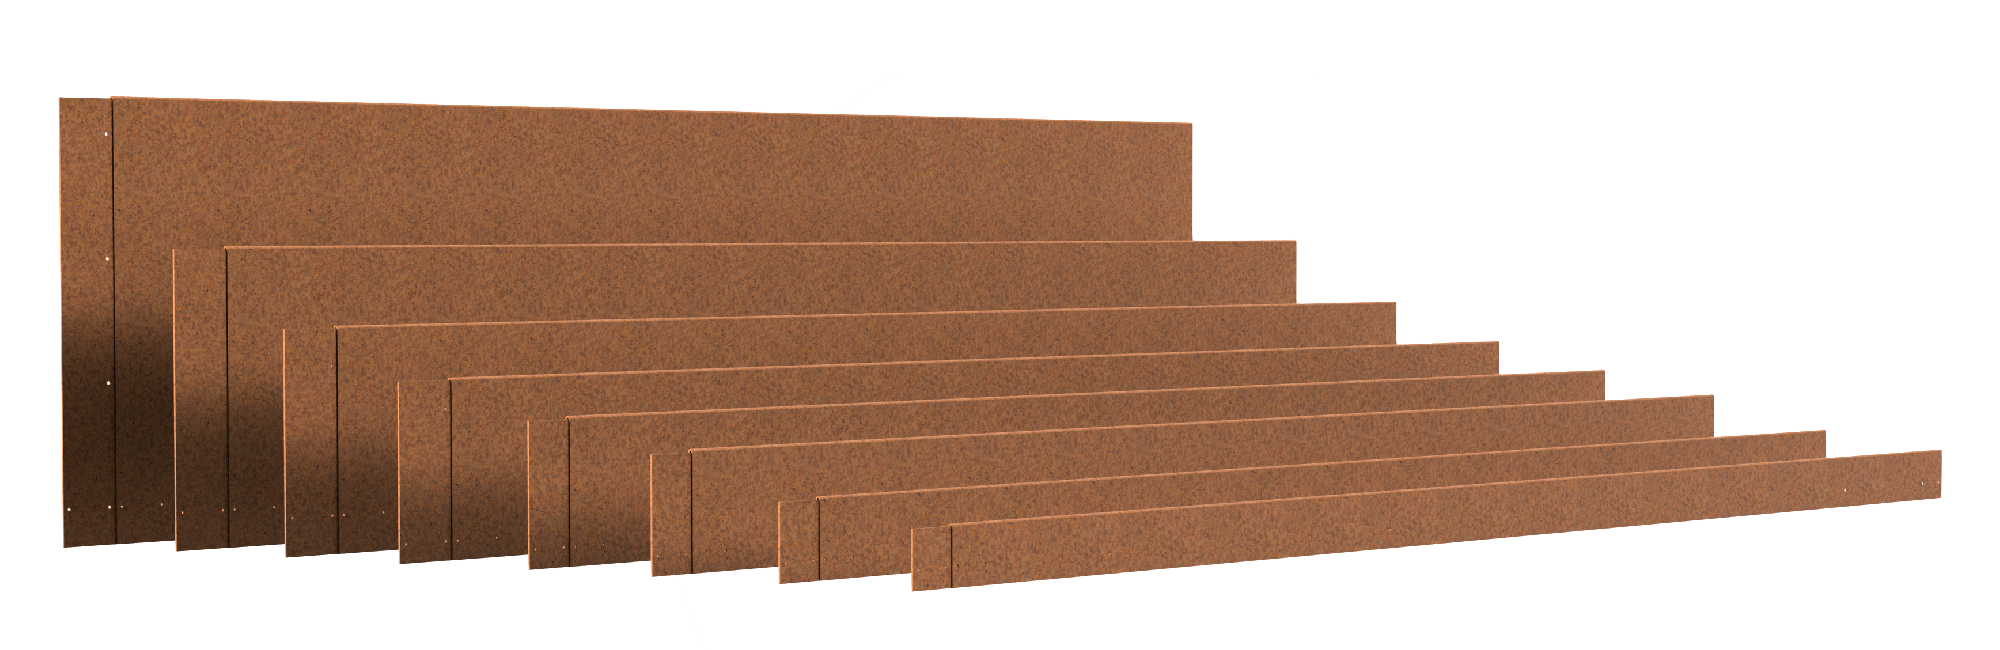
Shapescaper Garden Edging in Redcor steel delivers a durable, Australian-made solution for creating clean, long-lasting borders around lawns, garden beds, paths and hardscape features. Designed for flexibility and strength, this steel edging system is supplied in 2400mm lengths and is available in multiple heights and thicknesses, making it suitable for both residential and commercial landscaping projects.
To suit different installation requirements and ground conditions, Shapescaper Garden Edging is offered in the following size and thickness options.
Available Sizes & Thickness Options
Shapescaper Redcor Garden Edging is supplied in 2400mm lengths and available in the following variations:
2.0mm Thick Redcor Steel (Heavy Duty)
Available heights:
100mm, 150mm, 185mm, 230mm, 280mm, 390mm and 590mm
1.6mm Thick Redcor Steel (Light to Medium Duty)
Available heights:
75mm, 100mm, 150mm and 185mm
Customers select their required height and thickness from the available options before adding to cart.
Corners & Installation Accessories
Shapescaper Internal and External Corners are available in both 1.6mm and 2.0mm thicknesses to suit each edging profile. These purpose-made corner pieces help create neat, professional 90-degree turns and simplify installation on garden beds, paths and landscape borders.
Corners are listed as separate products and are displayed as related items on the Shapescaper edging page for easy selection.
Key Features & Benefits
Shapescaper Garden Edging – FAQs
What sizes does Shapescaper Garden Edging come in?
Shapescaper Garden Edging is supplied in 2400mm lengths and is available in heights ranging from 75mm up to 590mm, depending on the selected thickness.
What is the difference between 1.6mm and 2.0mm Shapescaper edging?
The 2.0mm edging offers increased strength and rigidity for taller or heavier-duty applications, while the 1.6mm edging is lighter and more flexible for smaller garden beds and residential use.
Which height Shapescaper edging should I choose?
Lower heights are typically used for lawn and garden edging, while taller profiles are better suited for retaining soil, mulch or creating level separation.
Is Shapescaper Garden Edging suitable for curved designs?
Yes, Shapescaper steel edging is designed to be flexible, allowing for straight lines or gentle curves during installation.
Are corners available for Shapescaper Garden Edging?
Yes, internal and external corners are available in both thickness options and are recommended for clean, professional corner installations.
| Supplier | |
|---|---|
| Application |
Prepare the site
– Establish a datum or reference point for levels and contours
– Measure and mark out the area, step back to visualize the full context of your design
– Layout your edging and stakes along the run to find the best location for joins and any required cuts
– We recommend the use of a sealing compound such as Crommelin Blackseal Heavy Duty bitumen paint on any edging below ground level
– Check for underground services or obstructions like roots
– Prepare a trench to a minimum depth of 70mm
– Auger 150mm diameter holes to a minimum depth of 270mm at a suitable spacing for the required number of stakes. A SHAPESCAPER stake driving tool may also be used where the ground density permits.
Cutting and shaping the edging
– Mark planned cuts and double-check measurements
– Cuts are easily made using an angle grinder with a thin stainless steel cutting disc
– 230mm edging can be formed into gentle curves with a radius down to 700mm onsite
– Tighter curves should be custom ordered and can be rolled down to a radius of 250m
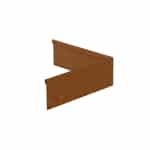
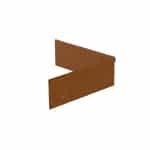
– 90-degree corners are available as stock items
– External (lip on the inside SECE23020)
– Internal (lip on the outside SECI23020)
Installing and securing the edging using a SHAPESCAPER stake driving tool
– Select 3 or 4 stakes per length as needed (SS450R) Angled Stakes
– 3 stakes are suitable for most applications; 4 stakes may be required for long straight runs, or when installed in loose or sandy soil
– Fit a connector to each length using two hex heads below ground and rivets above ground, this can be done prior to putting any edging into the ground. (please note using rivets is optional for most 230mm edging applications)
– Use the lower holes in the edging to align with the lower holes on the stakes and lay the stakes pointing towards the prepared trench
– Use a string line to ensure the stakes are driven to the required depth and positioned perfectly along the length of the run
– Taking care to maintain the spacing use the stake driving tool to guide each stake down to the correct depth
– Position the edging over the top of the stakes and secure to the previous connector
– Use the lower holes on the edging to align with the lower holes on the stakes and fit the stakes using the supplied hex head self-tapping screws
– Use the existing holes in the back of the stakes to guide your drill through the edging so the supplied rivets can inserted along the front face of the edging and secure the stakes above ground level.
Installing and securing the edging using pre augured holes (in very hard and rocky soil)
– Attach 3 or 4 stakes per length as needed
– Use the lower holes in the edging to align with the lower holes on the stakes and fit the stakes using the supplied hex head self-tapping screws
– Use the existing holes in the back of the stakes to drill through the edging and use supplied rivets to fit the stakes above ground level; rivets should be inserted along the front face of the edging (please note using rivets is optional for most 230mm edging applications)
– Fit a connector to each length similarly, using two hex heads below ground and rivets above ground, this can be done prior to putting any edging into the ground.
– Lower the completed edging one length at a time into the prepared excavation and fit off the connectors as you work along the run
– Use a string line to ensure the edging is running to the required gradient and use a level to check that all the edging is plumb. Timber bracing can be used to temporarily secure the edging
– Once a run is completed and secured with bracing, fill the holes around the stakes with concrete and let set
Final adjustments and finishing touches
– Backfill and compress along the front of the edging then back fill the rear section
– To accelerate the protective “rust” patina you can wash down the face of the edging with a mild detergent and then apply a 10% white vinegar solution.
– The edging will start developing a patina in about two weeks and become fully weathered between 6 months and two years depending on exposure to moisture. The use of stronger acid or salt will permanently damage the protective properties of weathering steel