$4.00 each
Available
Please note Whilst all care has been taken to provide you with a good indication of colour, you should always sight product samples before use, due to natural variations in Colours & Sizes. Products may vary from image provided.
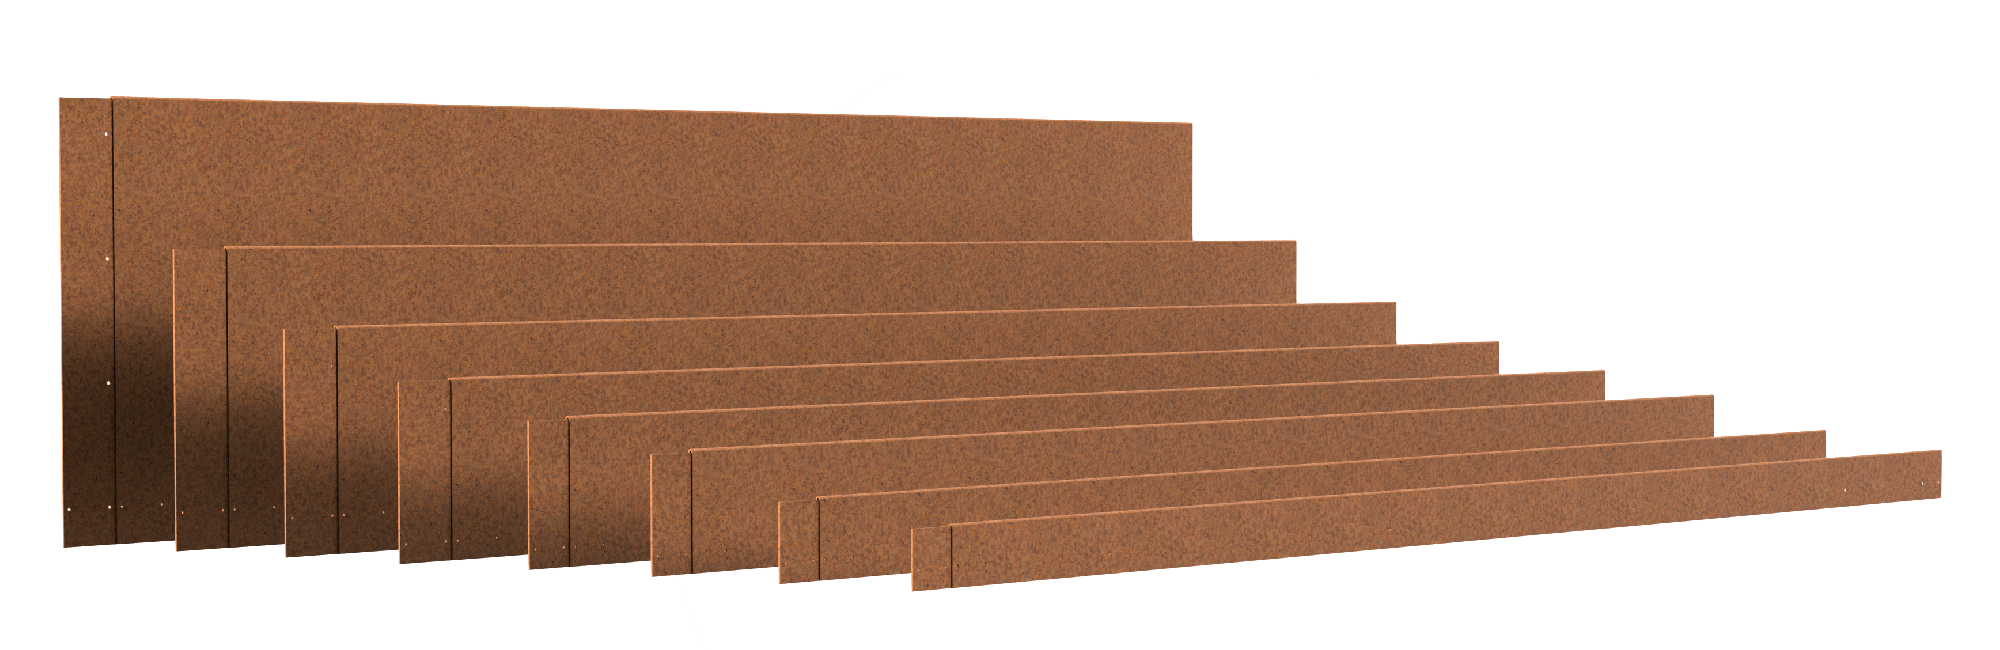
Australian made SHAPESCAPER Steel Edging are a modular steel landscaping system that will make working on your next project a pleasure, turning your great ideas into reality! Manufactured in Australia using Australian BlueScope Steel, suitable for both domestic and commercial landscaping installations. Available in eight heights, ranging from 75mm through to 590mm.
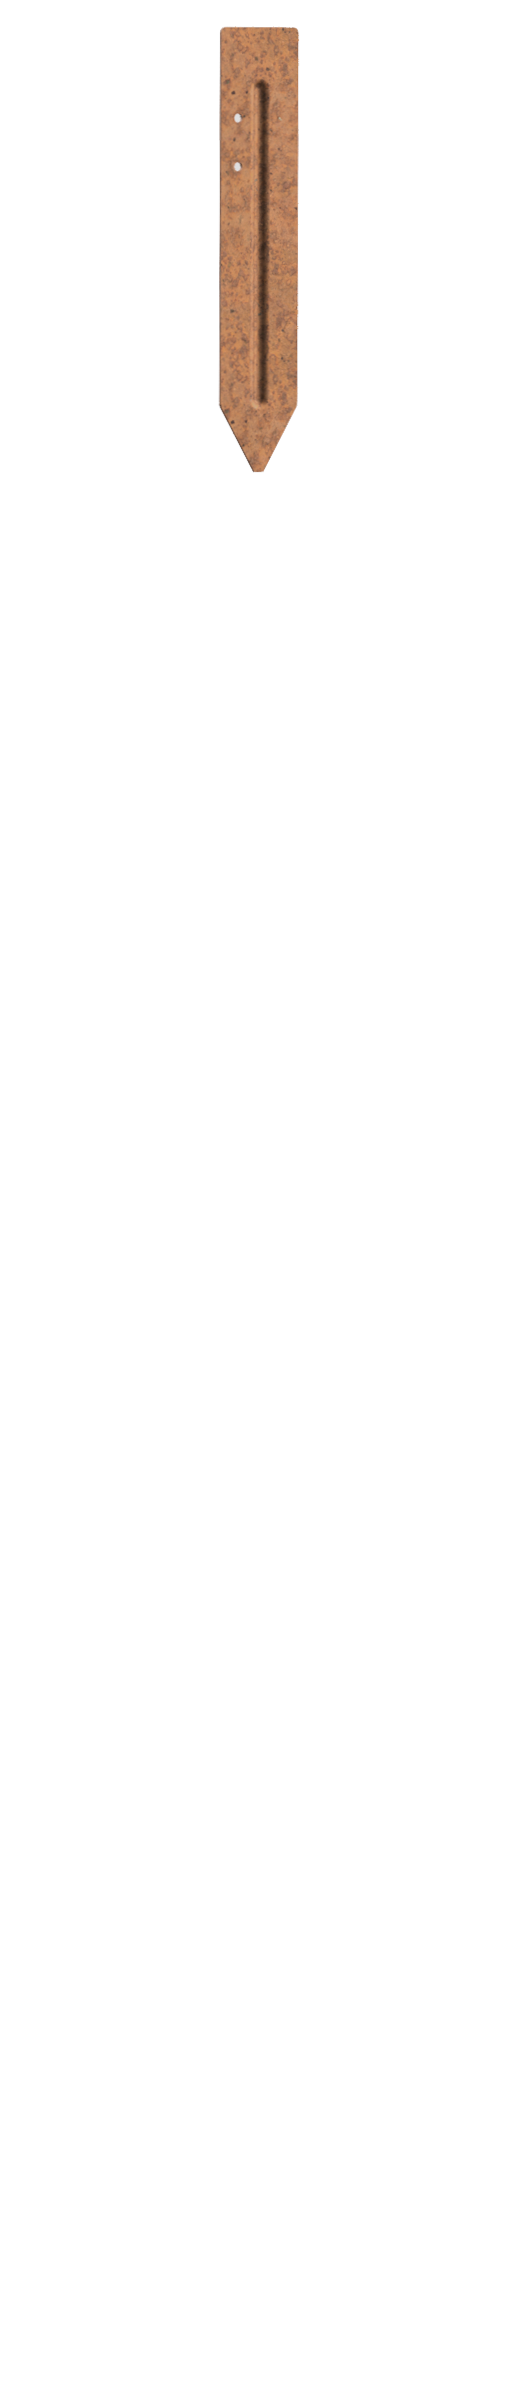
All SHAPESCAPER stakes are manufactured in Australia and feature precision pre-drilled holes that align with the corresponding holes pre-drilled along the full length of all SHAPESCAPER edging. All edging installation required three or four stakes per edging length. Four stakes per length are preferred when installing steps and long straight runs especially in sandy or unsettled soil.
| Weight | 0.10 kg |
|---|---|
| Material | |
| Supplier | |
| Suitable for |
Step-by-step guide
– Prepare the site
– Establish a datum or reference point for levels and contours
– Measure and mark out the area, step back to visualize the full context of your design
– Layout your edging and stakes along the run to find the best location for joins and any required cuts
– We recommend the use of a sealing compound such as Crommelin Blackseal Heavy Duty bitumen paint on any edging below ground level
– Check for underground services or obstructions like roots
– Prepare a trench to a depth of 30mm
Cutting and shaping the edging
– Mark planned cuts and double-check measurements
– Cuts are easily made using an angle grinder with a thin stainless steel cutting disc
– 75mm edging can be formed into gentle curves with a radius down to 500mm onsite. Hand shape using your body weight to gently and gradually bend the edging. Hold the end of the edging up with one hand while running your other hand along the edging with downward pressure to form the curve. Work in small increments, slowly adding to the shape of the curve. If you over-shaped a curve simply apply pressure in a similar way from the other side to reduce the radius of the curve and maintain the correct line
– Tighter curves should be custom ordered and can be rolled down to a radius of 250mm
Hand shaping 90-degree corners and other angles
– Do not score the edging with an angle grinder when forming tight bends; this is unnecessary and weakens the corner.
– Can be easily hand bent onsite
– Achieve neat corners by marking the position at least 300mm from the end of a length. This will allow enough leverage to easily start bending the edging.
– Place a stake across the edging at the marked position and place your feet as close to the sides of the edging as possible to secure the stake.
– Avoid straining your back by using your knees and legs muscles to bend the edging slightly over 90 degrees, then adjust to the desired angle.
– Using a small piece of wood or similar under the end of the edging will make it easier to get your fingers underneath to start the bending process.
– The top part of the bend will have a neatly tucked-in curved lip.
– The lower part of the edging will have a gently rounded flare, which will be below ground level.
90-degree corners are also available as stock items
– External (lip on the inside SECE7520)
– Internal (lip on the outside SECI7520)
Installing and securing the edging
– Select 3 or 4 stakes per length as needed (SS230R) Ribbed Stakes
– Three stakes are suitable for most applications; 4 stakes may be required for long straight runs, or if installing in loose or sandy soil
– Fit a connector to each edging length using two of the supplied hex head self-tapping screws
– Use the lower holes in the edging to align with the holes on the stakes
– Use a string line to ensure the stakes are driven to the required depth and positioned perfectly along the length of the run
– Taking care to maintain the spacing, use a “dead blow” hammer or rubber mallet to guide each stake down to the correct depth
– Position the edging over the top of the stakes and secure to the previous connector
– Use the lower holes on the edging to align with the lower holes on the stakes and fit the stakes using the supplied hex head self-tapping screws
– If the stake holes don’t align with the existing edging holes, simply screw into the edging using the holes in the back of the stakes as a guide
Final adjustments and finishing touches
– Backfill and compress along the front of the edging then backfill the rear section
– Wash down the face of the edging with a mild detergent to encourage the even development of a protective “rust” patina
– The edging will start developing a patina in about two weeks and become fully weathered between 6 months and two years depending on exposure to moisture. The use of stronger acid or salt will permanently damage the protective properties of weathering steel

