


$14.10 per m2
Available on Order
Please note Whilst all care has been taken to provide you with a good indication of colour, you should always sight product samples before use, due to natural variations in Colours & Sizes. Products may vary from image provided.
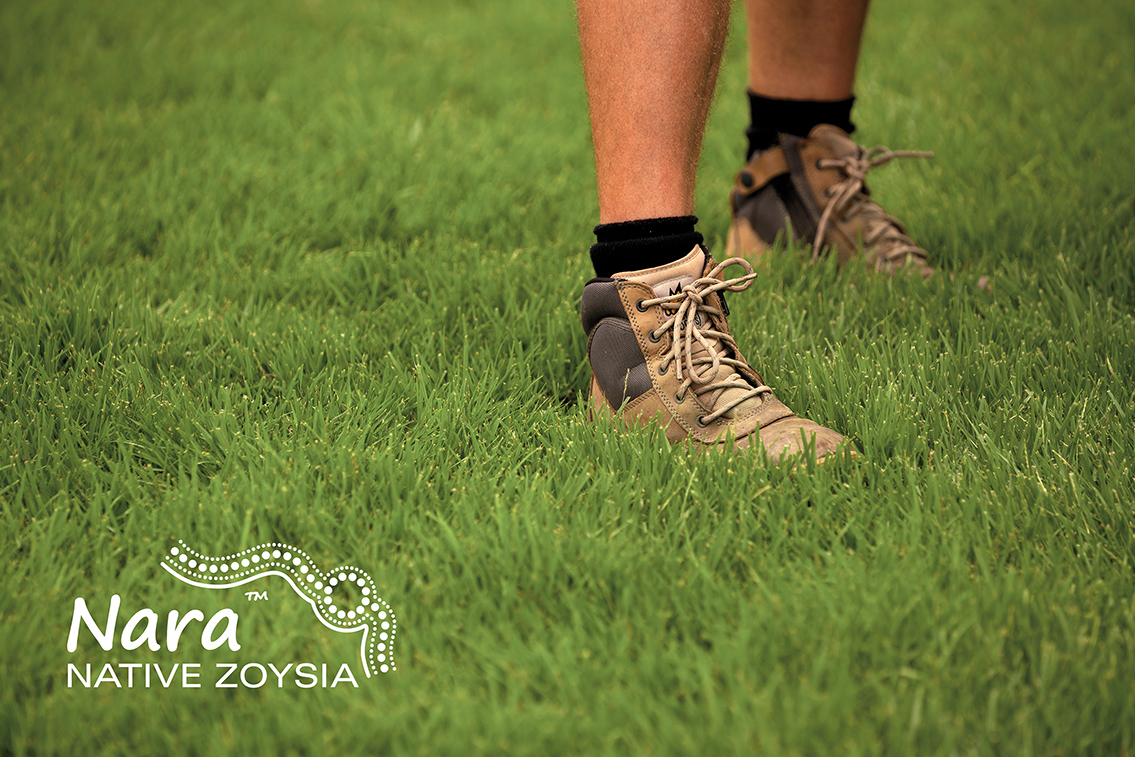
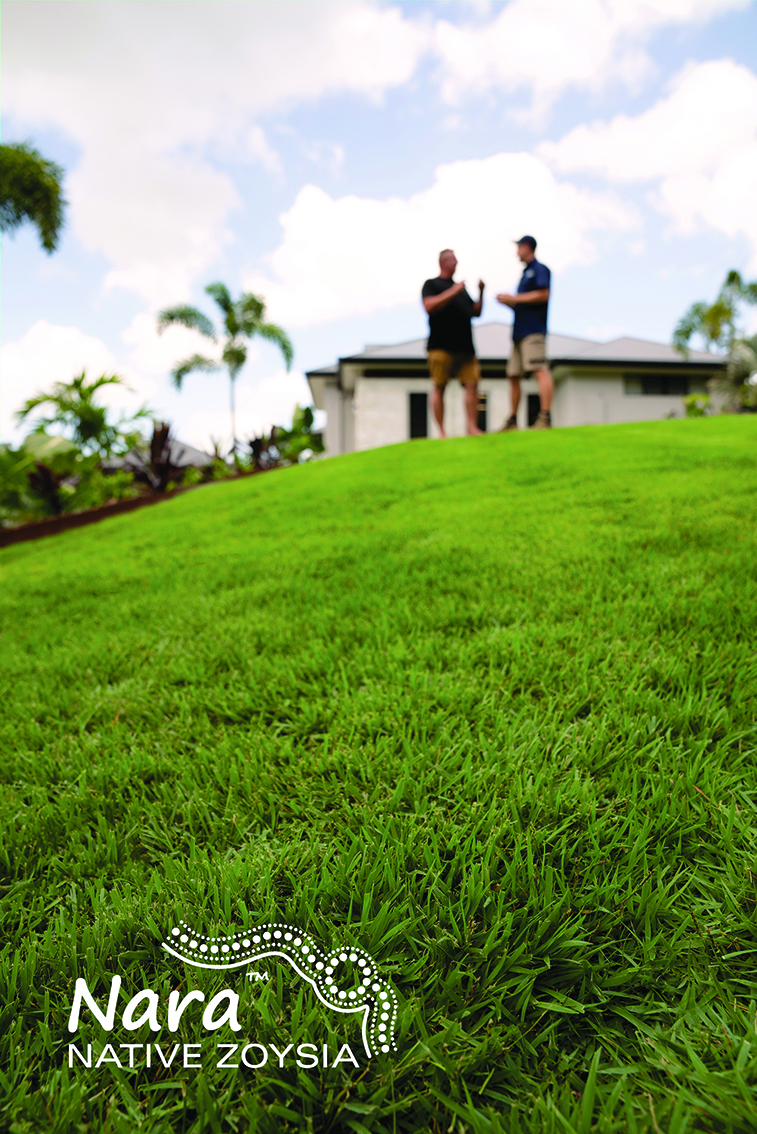
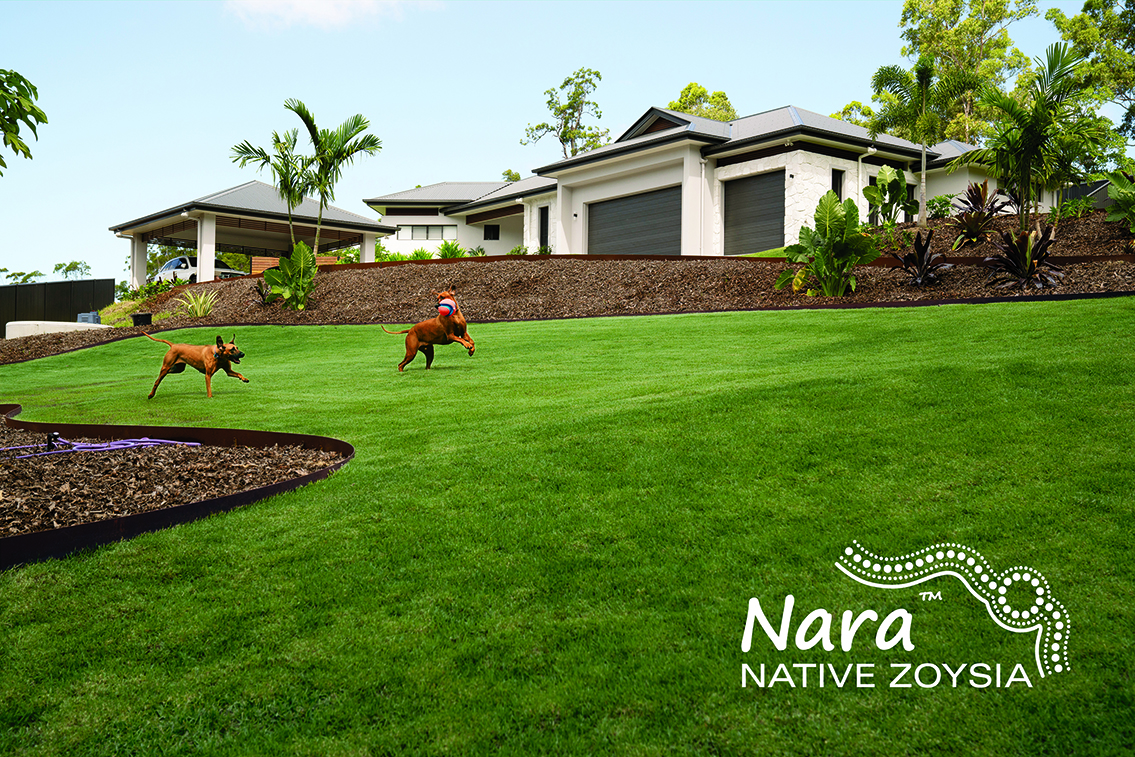
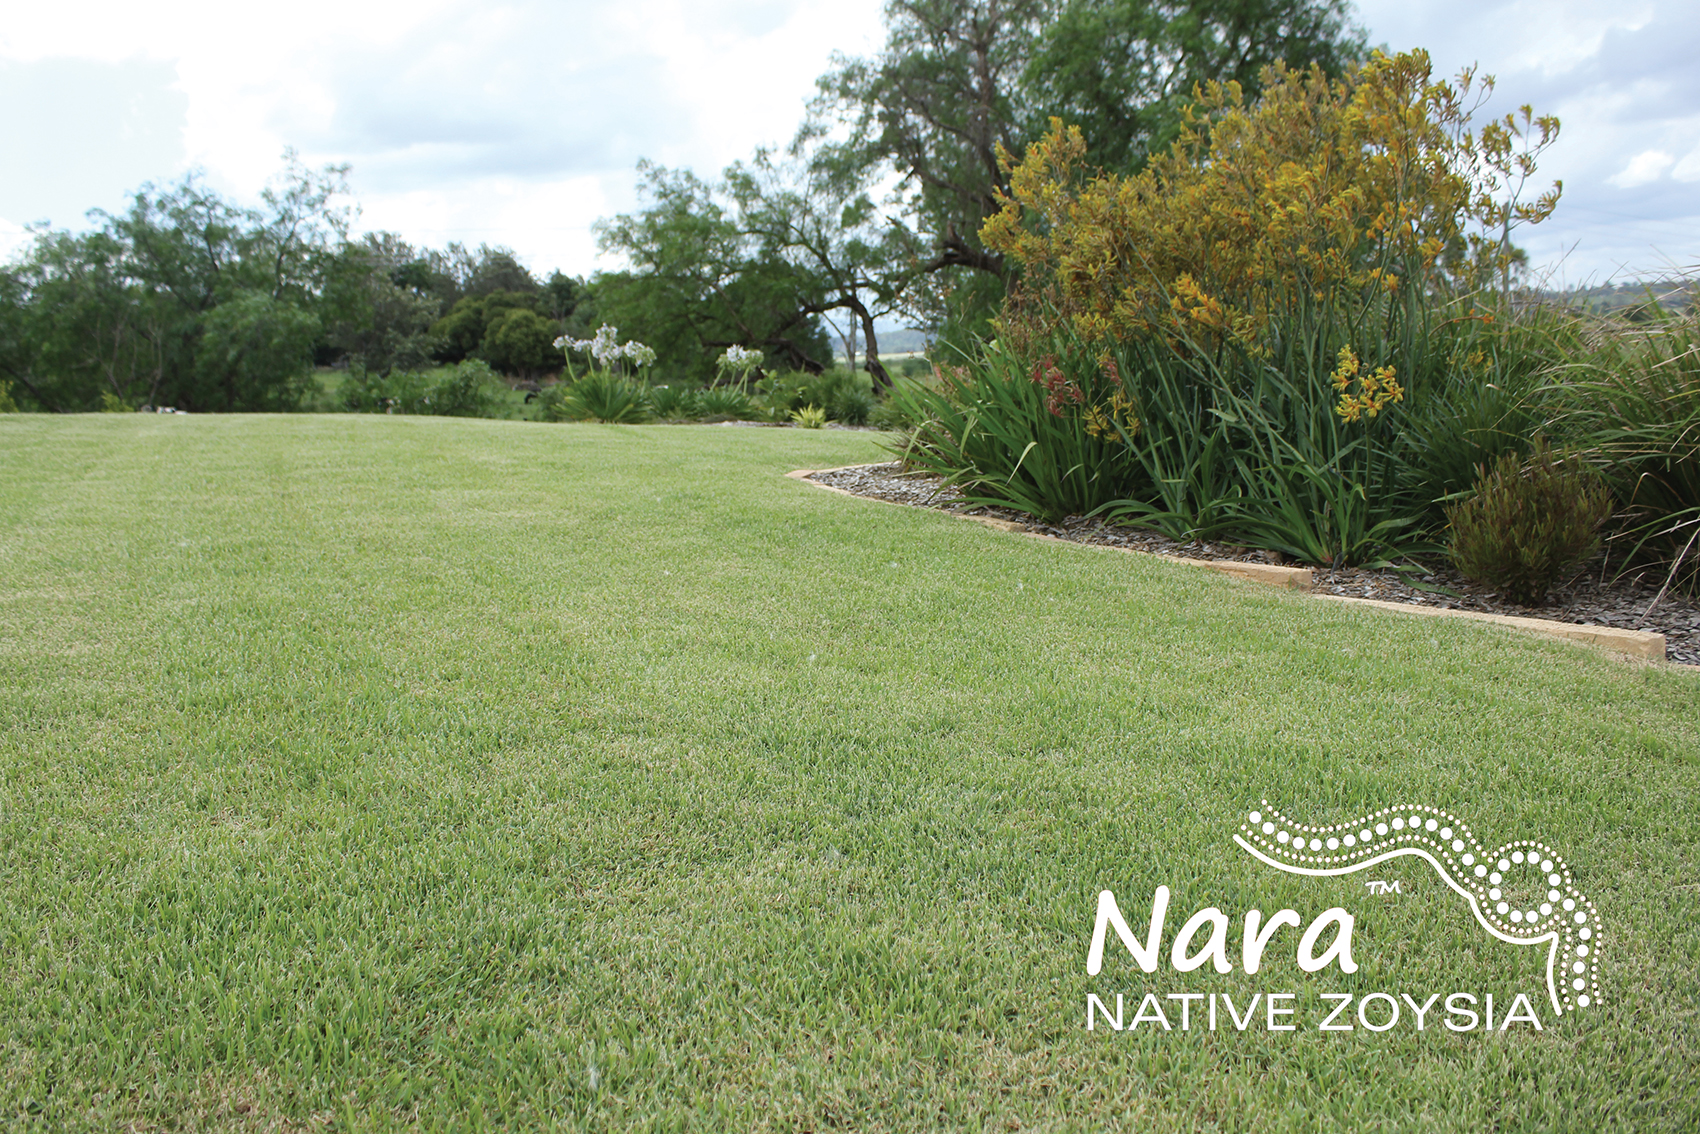
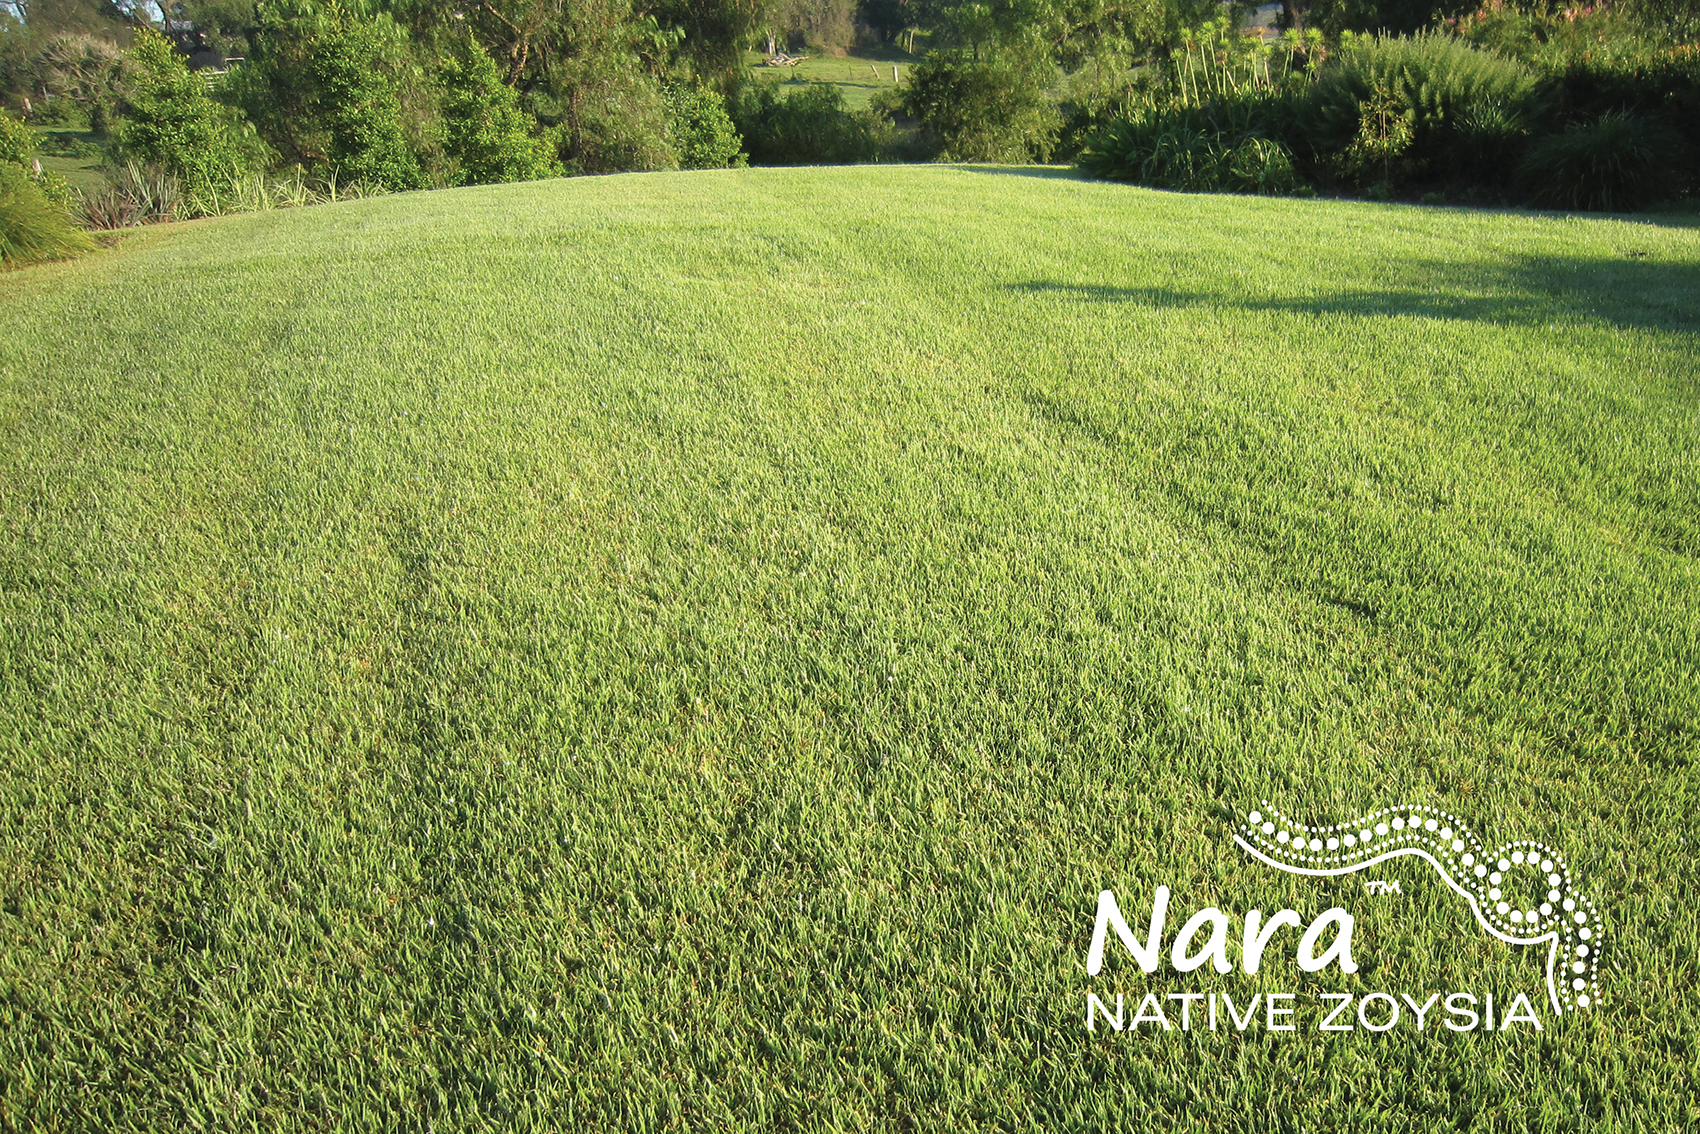
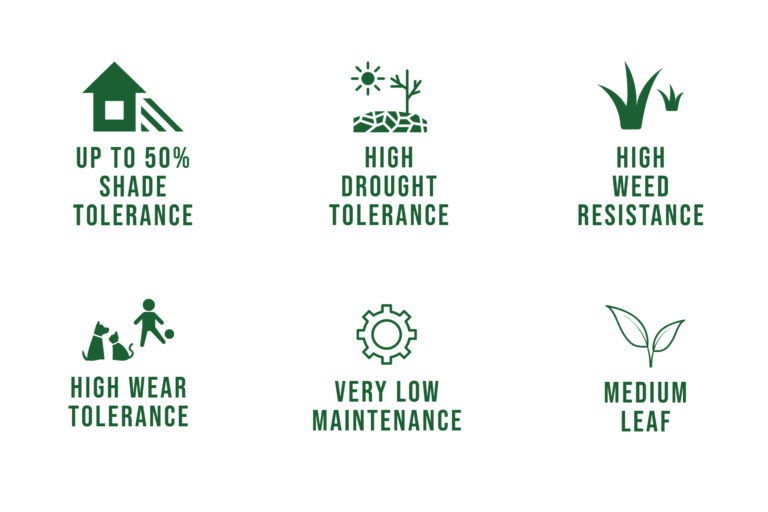
Nara Native Zoysia is Australia’s most beautiful native lawn. Highly drought tolerant. Evergreen winter and summer. Slow growing and low maintenance.
It is a great all-rounder that is able to grow extremely well under harsh conditions, yet looks and feels amazing.
Being an Australian Native plant, Nara Native Zoysia is able to cope with dry, hot and humid conditions with ease.
![]() Your lawn must be laid immediately upon delivery or return home from pickup.
Your lawn must be laid immediately upon delivery or return home from pickup.
Installation Guide
STEP 1- Measuring & Ordering:
Think of your lawn as a garden of grass. Before planting, prepare the soil as you would any garden bed. Measure the area of your planned lawn. Include these measurements on a sketch of the lawn area, with the length, width, along with any obstacles such as trees and any unusual features. If you need help figuring a square metre, your friendly Nuway team member will be happy to determine the amount you will need from your sketch (see graph on reverse side for your use). Schedule your order for delivery of the turf after preparatory work is completed and you are ready to install. Prompt installation is crucial to a strong beginning for your lawn.
STEP 2 – Preparation:
Spray out existing weeds and grasses (allow minimum of 10-14 days for a good kill) with a systemic weed killer such as Round-up. Be careful around existing shrubs to not let the spray hit them. If you have an existing lawn, remove existing grass after it dies and haul away. If you have an underground sprinkler system, be sure to flag the sprinkler heads so you won’t damage them during preparation and installation. Rake out the area and smooth the soil removing rocks, roots and large clods. Talk to your Nuway representative to see if your site will require an under turf mix. We have a wide range available to suit your specific site conditions.
STEP 3 – Turf Installation:
In stall your lawn immediately upon delivery or return home. Begin watering lawn within 30 minutes of installation. Turf is a living plant that requires ground contact and moisture survival.
Use a lawn roller to obtain a professional finish. Roll the area lightly with the roller 1/3rd to 1/2 full of water. This will firm the soil surface and reveal low areas that need more soil. Eliminate any drainage
Problems by having soil lope away from foundation etc. Keep the grade 25mm below sidewalks or driveways (the turf is about 25mm tick). It is a good idea to rake again lightly after rolling.
Water the prepared area to settle soil and provide a moist base for turf. Moistening to a depth of 100-150mm is recommended for most soils.
Begin installing turf along the longest straight line, such as a driveway of sidewalk. This first line is important, as it will help you establish the entire lawn correctly. Butt and push edges and ends against each other tightly, without stretching. Avoid gaps or overlaps. Stagger the joints in each row in a brick-like fashion, using a large sharp knife to trim corners, sprinkler heads, sidewalks, etc. Avoid leaving small strips at outer edges as they will not retain moisture. On slopes, place the turf pieces across the slope instead of up or down the slope. Damp the turf or gently use a roller to establish good root contact with the soil. Fill any gaps with loose soil. To avoid causing indentions on air pockets, avoid repeated walking or kneeling on the turf while it is being installed or just after watering. After installing the turf, roll the entire area to reduce air pockets
STEP 4 – Watering:
Give your new lawn 25mm of water within 1 hour of installation. Water daily, or more often (especially on hot and windy and windy days), KEEPING TURF MOIST, until it is firmly rooted and knitted together (about 2 weeks). Once the turf has knit, it should be watered enough over the first few months to maintain a healthy growing condition. Once established, weather conditions will dictate the amount of frequency of watering. Be certain that your new lawn has enough moisture to survive hot, dry or windy periods. Water areas near buildings more often where reflected heat dries the turf.
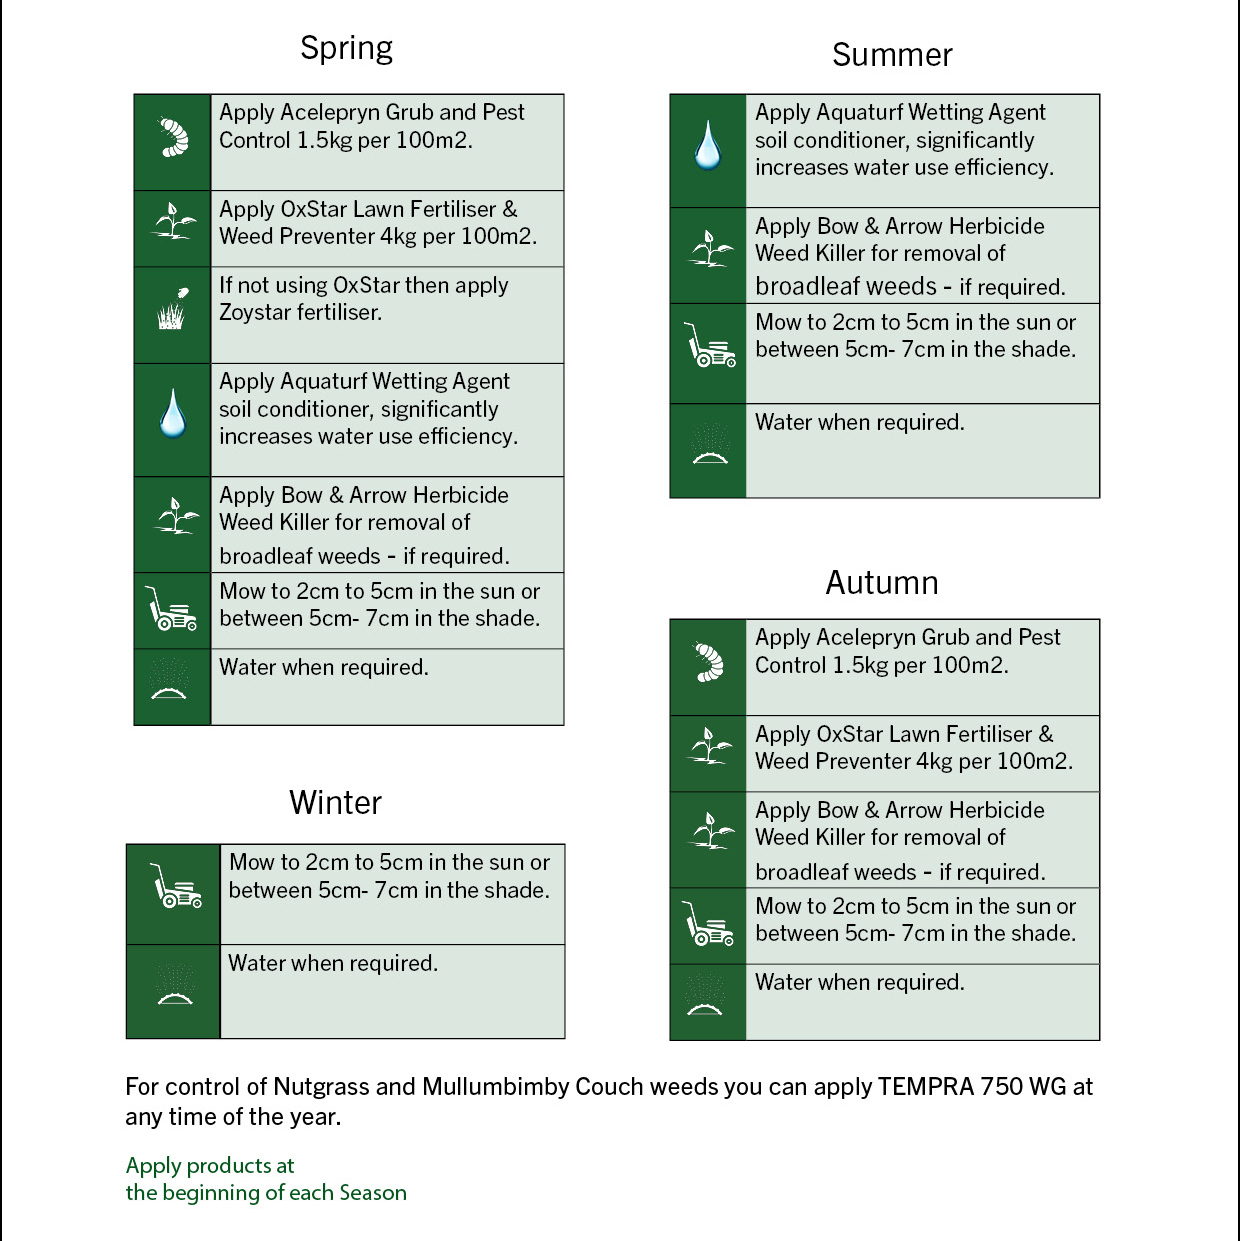
STEP 5 – Fertilising:
It is recommended that you add a fertiliser such as Under Turf Starter to the prepared soil before laying your turf. This fertiliser contains both Urea and water crystals which aid in the establishment of your new lawn. Approximately two weeks after laying the turf, re-fertilise your lawn. Turfmaxx Fertiliser is recommended for all turf types.
Maintenance:
Approximately 7 to 10 days from time of installation, mow with a sharp mower. The first mow should not be attempted until turf is firmly rooted and secure in place. Generally, remove no more than 1/3rd of the grass height at a mowing. Keep your mower blade sharp.

$36.30 each
$62.00 each

$21.70 each

$167.00 each

