
$1.96 each
Available on Order
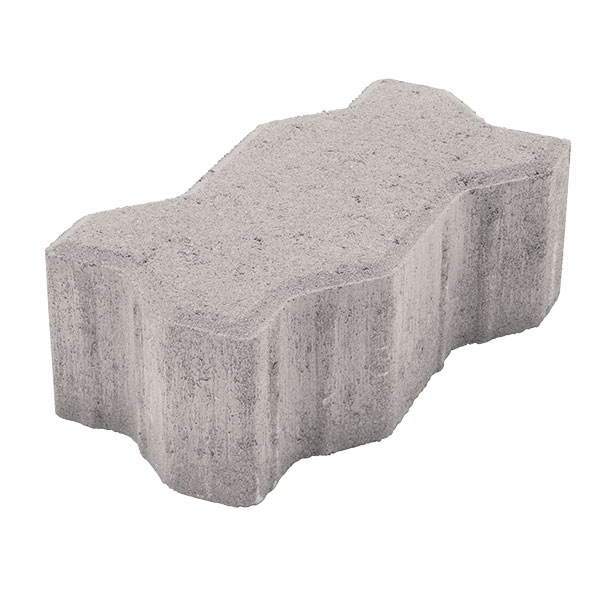
Please note Whilst all care has been taken to provide you with a good indication of colour, you should always sight product samples before use, due to natural variations in Colours & Sizes. Products may vary from image provided.
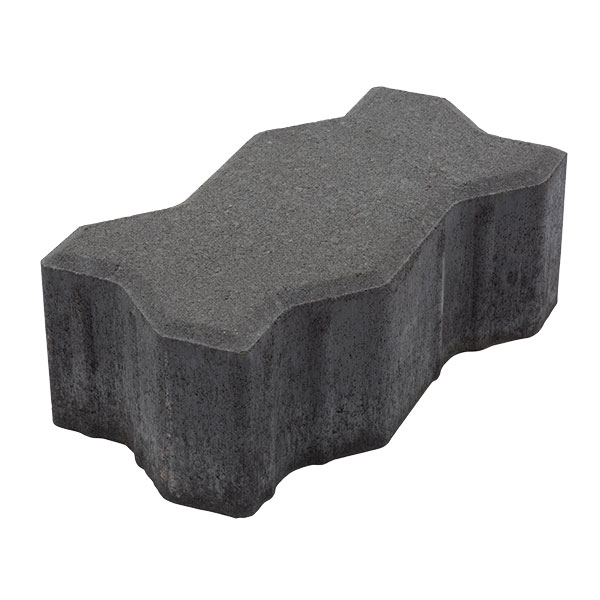
Interlocking segmental paving systems are engineered for high volume traffic and able to withstand heavy loading. Interpave™ is ideal for large carpark areas, hardstands, driveways, or any application that needs to withstand heavy vehicle loading. Interpave™ out performs traditional concrete or asphalt pavements as the greater the turning load applied to them, the stronger they interlock.
| Weight | 4.25 kg |
|---|---|
| Dimensions | 225 × 112 × 80 mm |
| Price per m2 | $78.40 |
| Free Delivery | 3 full pallets and over (Conditions Apply) |
| Qty per m2 | |
| Qty per pallet | |
| Application | Patios, Courtyards, Steppers, Pool Surrounds, Entertaining Areas, Pathways, Driveways |
Basic guide to laying pavers
Prepare the site
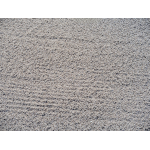
Place screed rails on road base and spread bedding Sand roughly between and over the rails – keep the rails.
The easiest way to screed Sand is to use two guides (screed rails) and a screeding board (e.g. a flat piece of timber). Establish bedding tracks with the screeding board.
Add the bedding Sand
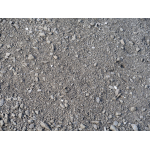
Excavate the area to be paved to allow for the base layer (generally 100 -150mm thick of road base), bedding Sand (generally 30mm thick coarse washed river Sand) and the paver thickness. Establish falls and level using a spirit level on the screed board. Spread the road base to an even thickness and compact using a mechanical plate compactor.
Level the surface
Bed the screed rails into the bedding sand. Drag the screeding board in a sawing motion from side to side across the rails to create a firm, flat laying surface. Remove the rails, fill in the voids with bedding Sand and trowel smooth.
Set the lines
Set string lines at right angles to establish paving lines. These will help keep the joints straight for that truly professional look.
Begin the laying process
Start laying along the longest straight edge of the designated area and lay whole pavers first. Leave 3-5mm between pavers to allow for jointing Sand (unless the pavers have nibs).
Cut Pavers
Cut and position part-pavers if the job requires them. Edge restraints prevent the pavers from moving.
Fill the joints
Sweep jointing Sand over the finished dry paving, ensuring that all joints are full.
Sand filled joints
Pavers 50mm thick or greater surface to be plate compacted. Always remember to use a rubber mat or carpet beneath the plate compactor to prevent damage to the pavers. Pavers 40mm thick or less – surface to be hand compacted with a rubber mallet
$108.90 per m3
$173.90 per m3

$14.75 Original price was: $14.75.$14.01Current price is: $14.01. each

