
$9.96 each
Available on Order
Available on back-order
Please note Whilst all care has been taken to provide you with a good indication of colour, you should always sight product samples before use, due to natural variations in Colours & Sizes. Products may vary from image provided.
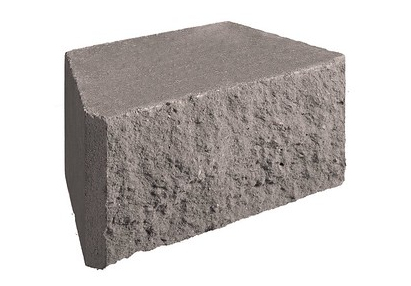
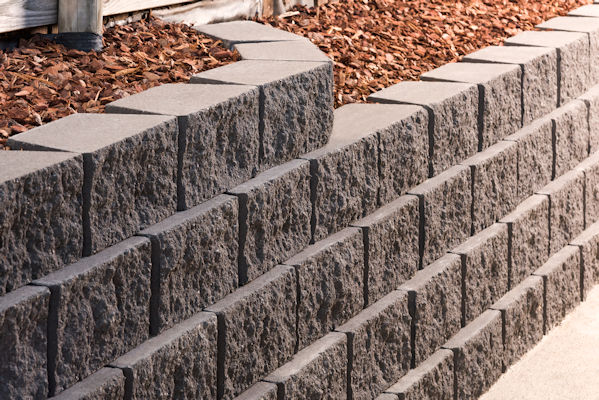
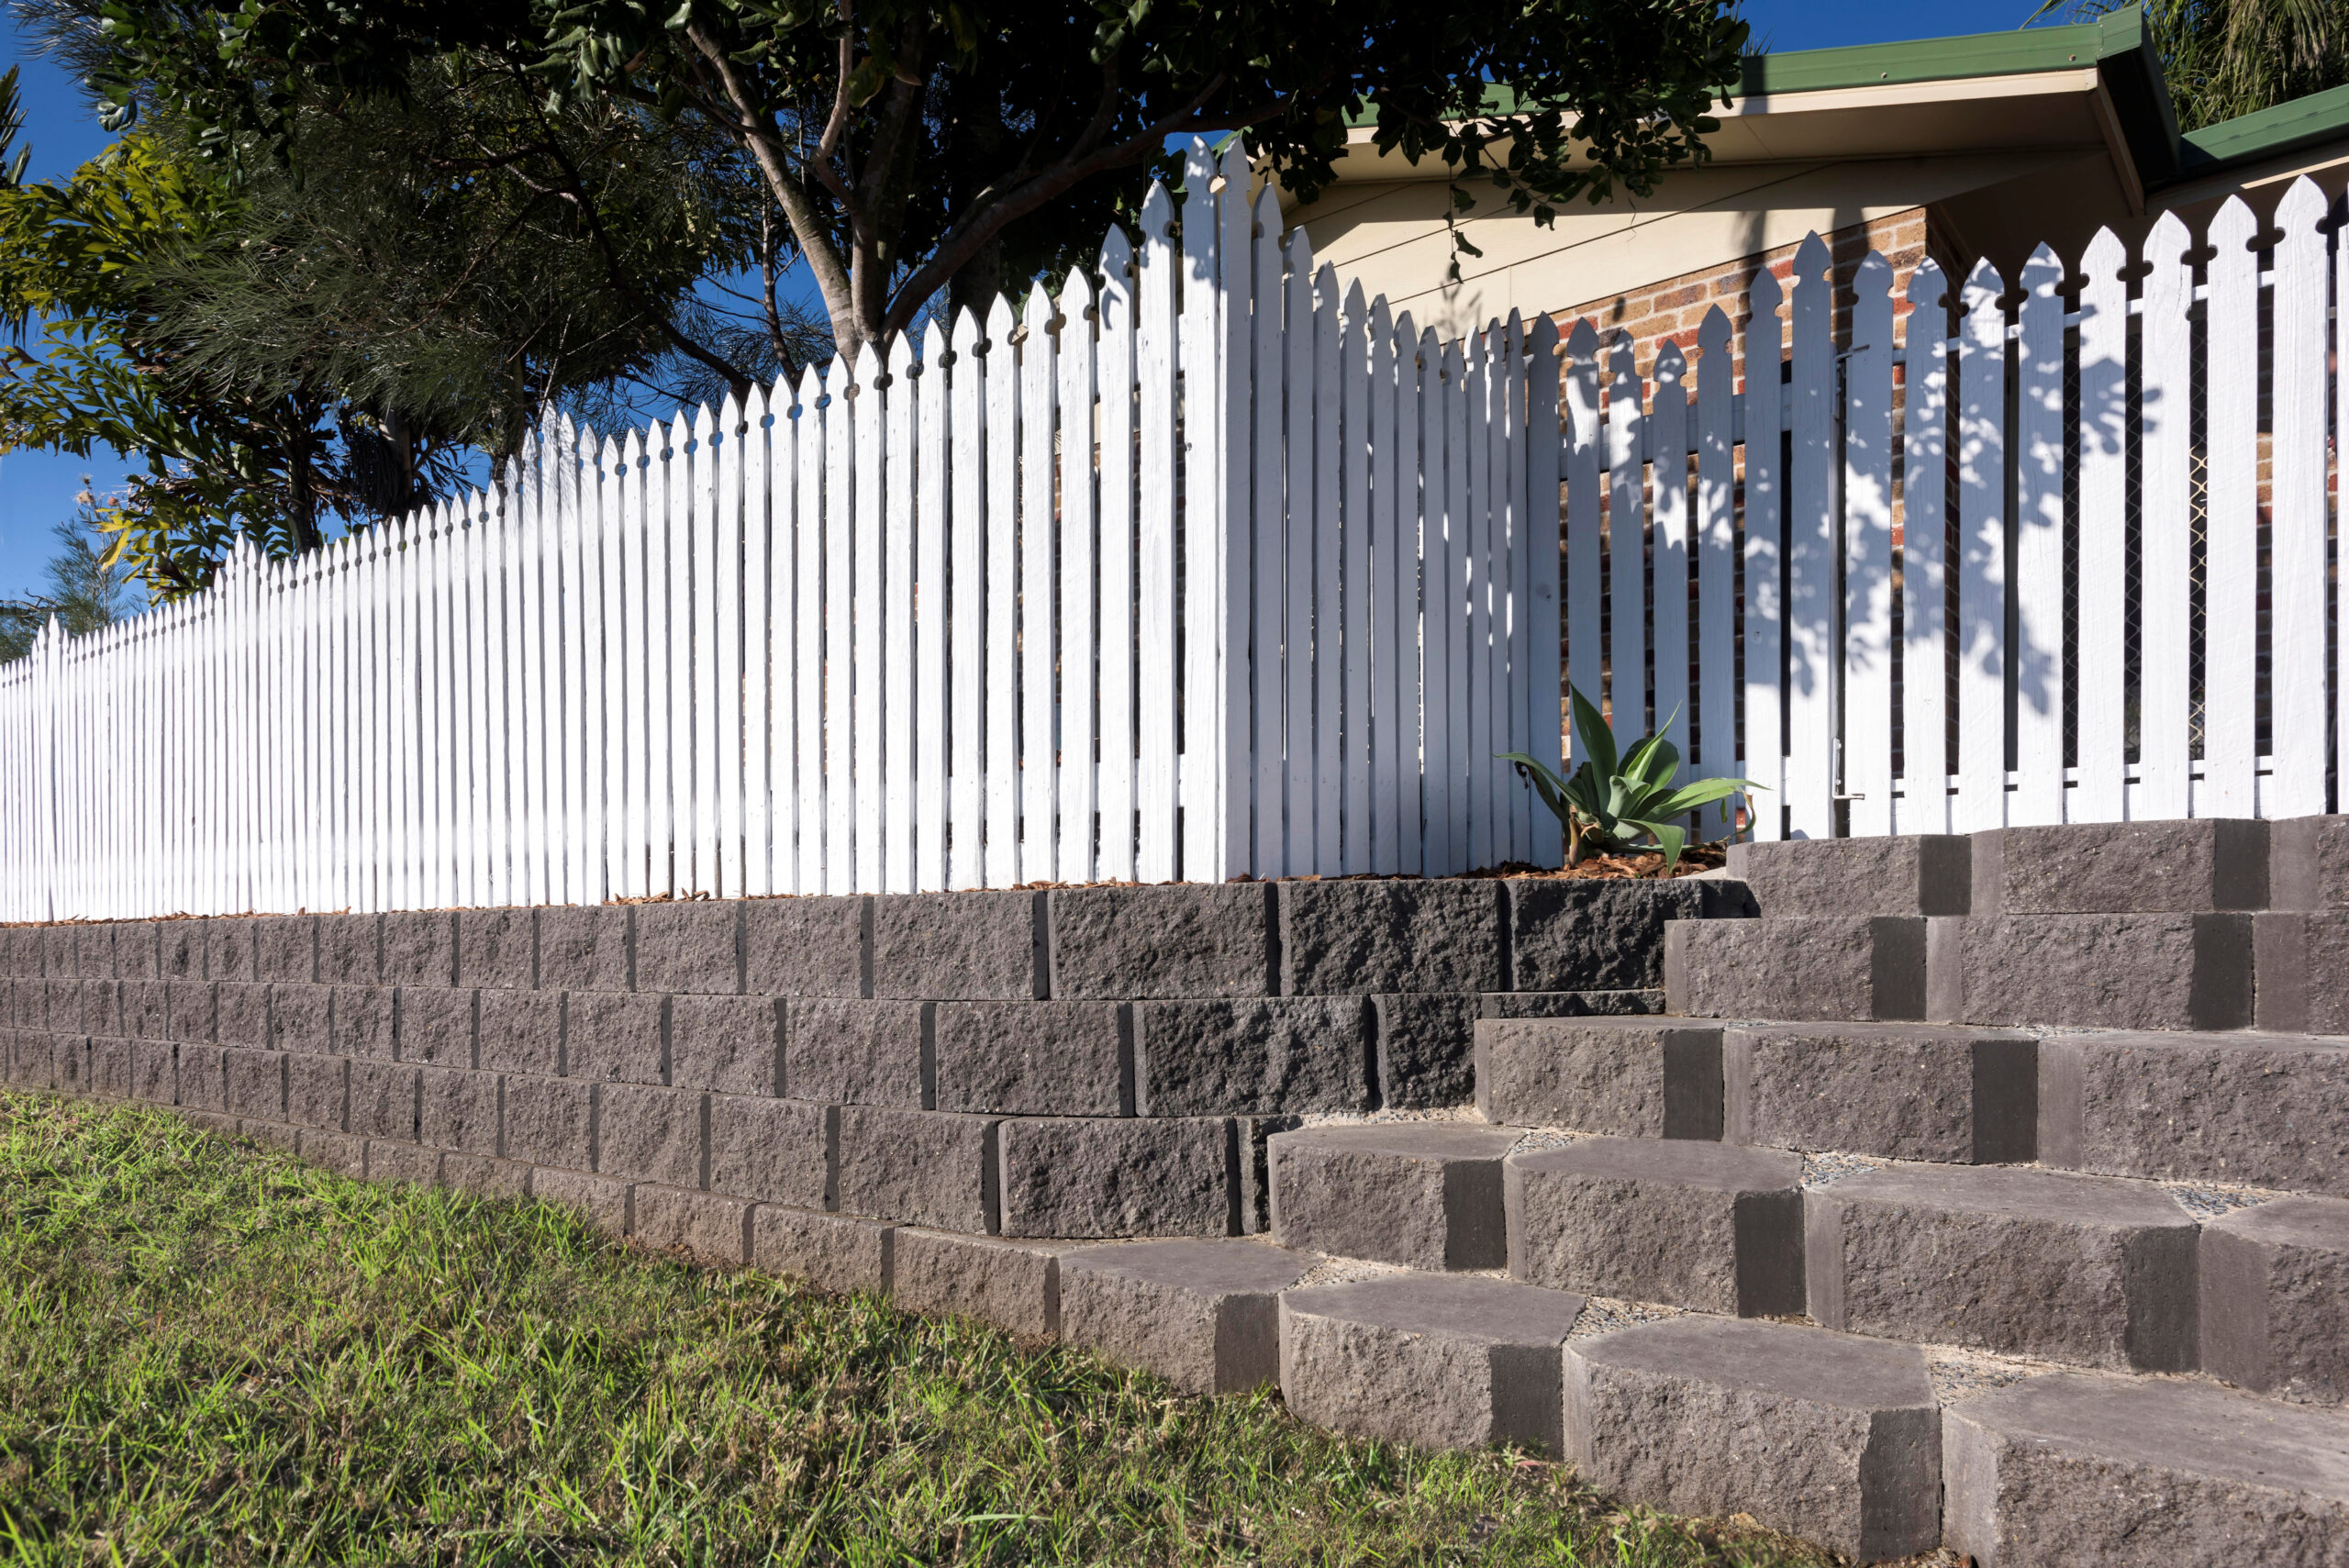
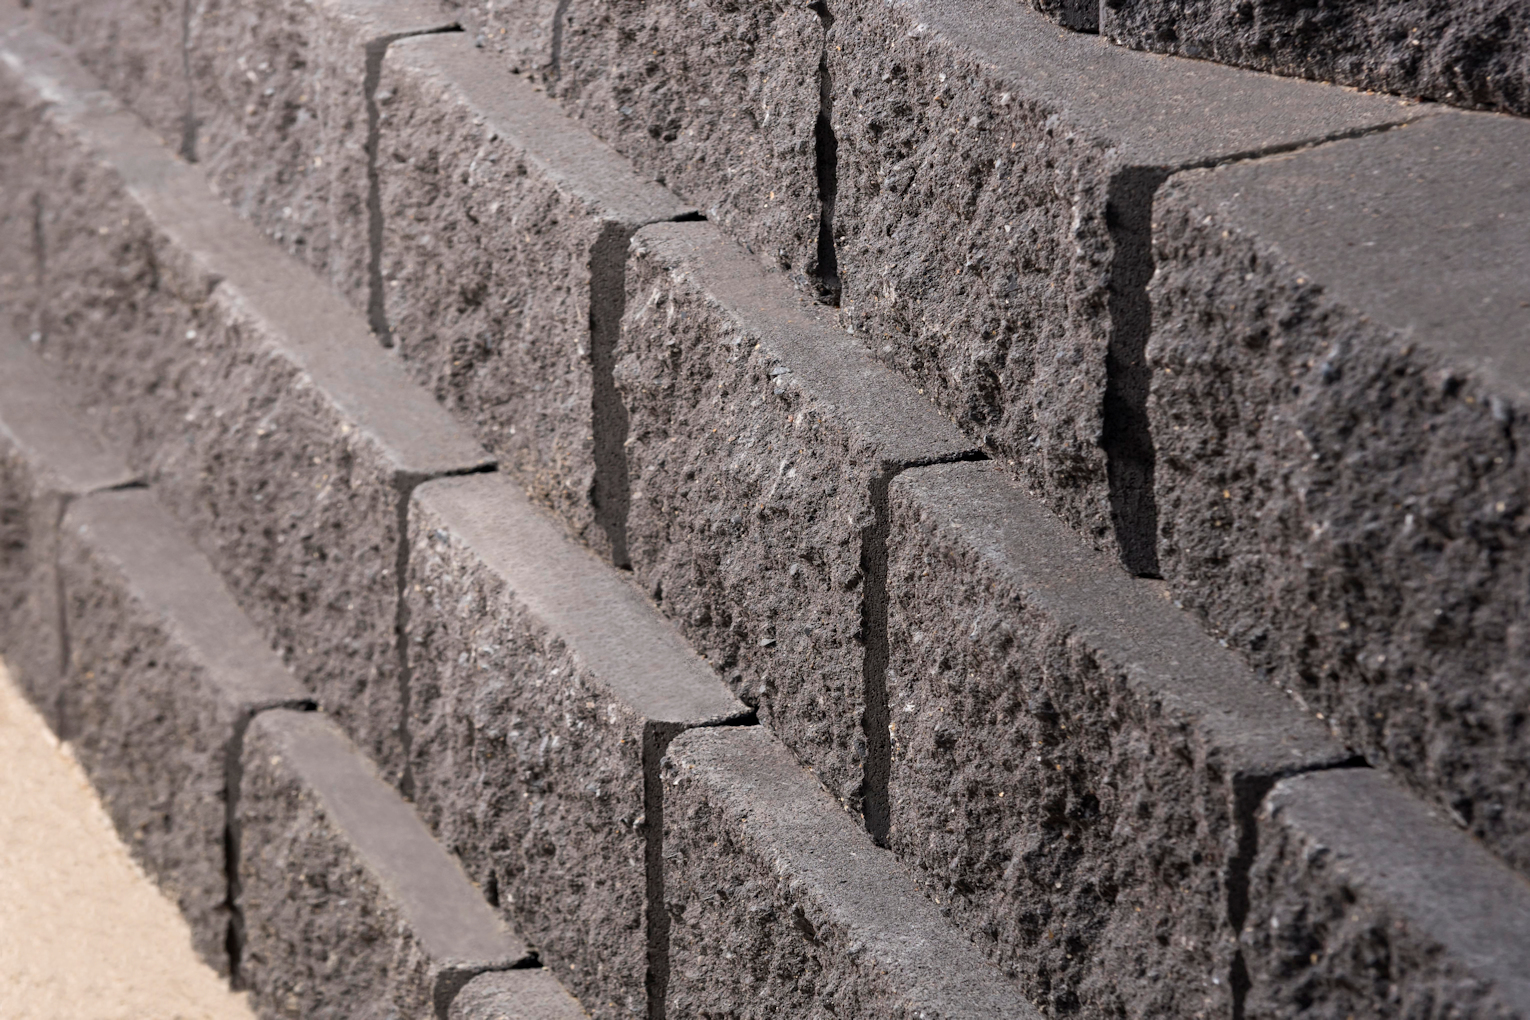
Fitzroy Retaining Wall Blocks offer a split face finish with the options to suit contemporary colour schemes.
Their simple design, mortarless interlock, and manageable weight means you can lay them yourself
and enjoy a retaining wall which is virtually maintenance free. You can achieve a minumum radius of 1500mm with this block.
Concrete masonry products are designed to last the test of time.
Minimal maintenance required to keep your retaining wall looking good.
Low in embodied energy, recyclable and results in minimal waste.
Concrete masonry products wont rust, rot or corrode and are termite resistant.
Strong and dense, concrete masonry is designed to withstand strong impact.
This range can be used on straight and curved retaining walls.
| Weight | 19.23 kg |
|---|---|
| Dimensions | 375 × 210 × 180 mm |
| Free Delivery | 4 Tonne and Over (Conditions Apply) |
| Price per m2 | $139.44 |
| Max Height | |
| Qty per m2 | |
| Qty per pallet | |
| Application |
Installation Guide:
Checklist (What you need)
String line
Tape measure
Walling units
Compaction Tool
Shovel
Spirit level
Wheel barrow
Agriculture Drain Pipe
Pegs or stakes
Broom
Gloves & eye protection
Mitre saw (to cut blocks if required) 10-20mm
Crushed stone Crushed rock (for base)
Step 1: Permits
Check with your local council to ensure all local Building Codes are complied with.
Step 2: Foundation
The foundation material shall be compacted by several passes of a mechanical plate vibrator. Where there are significant variations of foundation material or compaction, soft spots, or where there is ponding of ground water, the material shall be removed, replaced and compacted in layers not exceeding 150mm. Trenches shall be dewatered and cleaned prior to construction, such that no softened or loosened material remains.
Step 3: Bearing Pad
The facing shall be built on a bearing pad, not less than 150mm thick and 300 to 600mm wide, consisting of one of the following options:• Compacted road base• Compacted crushed rock, well-graded and of low plasticity (without clay content), compacted by a plate vibrator;• Cement-stabilized crushed rock, with an additional 5% by mass of cement thoroughly mixed, moistened and compacted by a plate vibrator; or• Lean-mix concrete with a compressive strength of not less than 15 MPa.
Step 4: First Course
Spread 25mm of crusher dust with an additional 5% by mass of cement over the compacted base. The first course is now bedded into the crusher dust. The use of a level and string line is recommended to ensure the first course is laid correctly. Ensure each block is also well filled with free-draining material (e.g. crushed rock aggregate / blue metal). For walls up to 1 metre high, make sure at least 100mm of the first-course blocks are buried below the finished ground level. Allow 200mm for walls over 1 metre high and up to 3 metres high. These walls will need to be engineered.
Step 5: Drainage and Back Fill
Place 100mm diameter agricultural pipe with geotextile sock behind the wall, with a 1 in 100 fall. Backfill behind the courses of blocks to a width of 300mm using 10-20mm free draining material (e.g. crushed rock aggregate / blue metal). Ensure each block is also well filled with free-draining material. Backfill behind the drainage layer with selected backfill material in a maximum of 200mm layers. Compaction rate of 95% must be achieved (use only hand operated plate compactors within 1 metre from the back of the wall). Do not use expansive clays to backfill. Be careful not to mechanically compact too close to the wall.
Step 6: Laying Additional Courses
Clean any debris from the top of the wall to ensure the next block sits perfectly. Ensure each block is filled with free draining material, and place next course on top. Place the drainage material behind the blocks to 300mm. Stack units, placing drainage aggregate and compact backfill for each course until the wall is complete.
Step 7: Capping Units
Once backfilling and cleaning is completed as per Step 5 and Step 6 fix the purpose made Capping Blocks with External-use Liquid Nails / Maxbond.
Step 8: Maximum Wall Height
This information should be viewed as a guide only. The particular circumstances of retaining wall projects vary significantly in ways that often dictate the use of particular materials and techniques to address challenges presented by those circumstances. Austral Masonry recommends you to ensure that you obtain appropriate professional advice tailored to your circumstances before commencing retaining wall projects
Note: Please consult with regulating council for local design requirements prior to the commencement of any retaining wall. Councils may request walls over 0.5m in height and / or where a surcharge exists (e.g. driveway, house, fence or other structure) be designed and certified by a suitably qualified consulting engineer.
Building a retaining wall to improve the flow, usability and appeal of a garden or section is a project that a confident
DIYer may approach.
Here is a quick guide to building a simple interlocking block retaining wall.
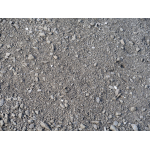
$108.90 per m3
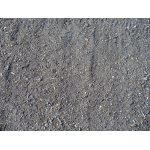
$125.90 per m3
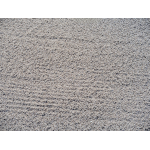
$173.90 per m3
$9.80 Original price was: $9.80.$9.31Current price is: $9.31. each

